Step 12 – Constructing the Doors Part 2 – Adding the Outer Glass Housing
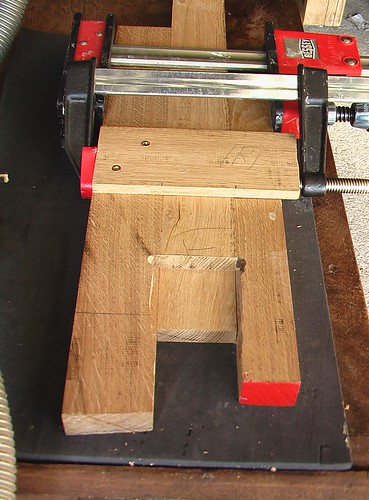
As I mentioned, as there are quite fat pieces I wanted them to be glued up with a lap joint to add bit of strength. As they will be on the outside, they will be painted, which is a touch heart wrenching because their figuring is very nice – here is the only record.

Ok so this is not going to work – time to spend a few hours setting up the bandsaw.

After a bit of bandsawing we have four short and four long glass retaining pieces with most of a lap joint cut-out.

Now to tidy that up and make it more precise, we can use a mighty little router and a home-made jig like this.

A good bit of work later and they are fitting beautifully.

Dry test without glue.

Gluing the one of the outside glass retainers into position. This helps lock everything together quite a lot, and increases the side-grain glue joint area nicely.

Glue mess like this means you put enough on ;)

A pleasing joint.

Now using a hand plane we can tidy up some of those corners ready to put on the extra bits that will run down the outside edges. These extra strips stager the door-to-frame interface (providing better weather seal.

Much better.

Clamping on the strip.

Tidying up excess. This strip is also going to be where the hinges go, so we can start thinking about marking up for that.
