Step 16 – The Central Rain Cover and Sills
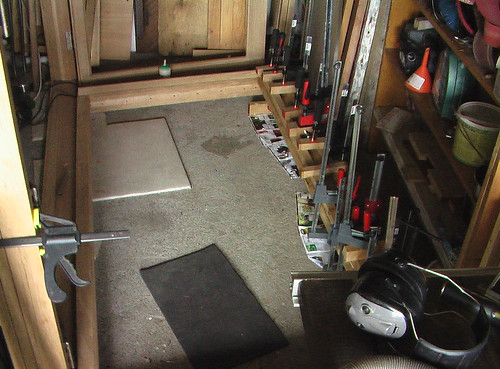
There are a few more gluing operations left, like putting on the sills and the central rain cover. To make the sills I used the bandsaw to rip a diagonal section of a square length of oak. After planing to smooth and shape, and cutting a drip grove, it is ready to go. Skipping ahead in the photographic narrative a bit here, but this is the sill glue up – quite tricky due to its shape.
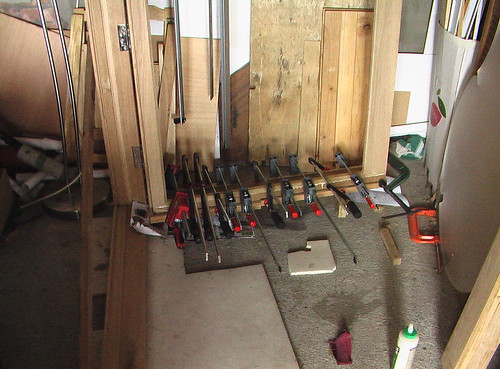
As you can see at this point there isn’t a great deal of room for manoeuvring, so most of the time I try to store the doors inside the frame.
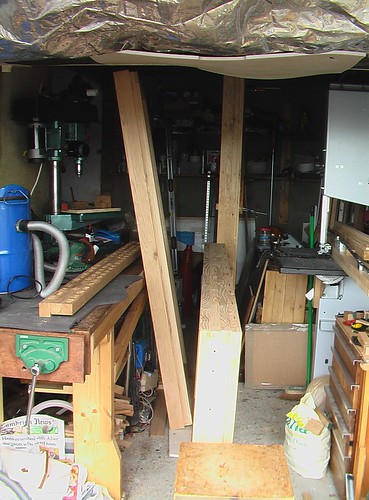
After some arranging, I lay the passive door down flat so I can work on the outside surface. As you can see below, I have routed off the corners at a 45 degree angle around the outer glass retainers, for looks, but also to allow them to shed water better.
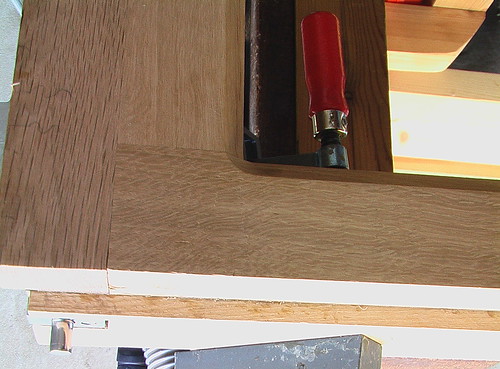
Both sills are on at this point and we can prep the surface for the central rain cover – this basically just covers the inevitable gap formed where the two doors meet. I have also used the router to round off the corners of the cover.
The cover is the last glue-up on the doors requiring an army of clamps, hooray!
