11 – Wiring up the insides
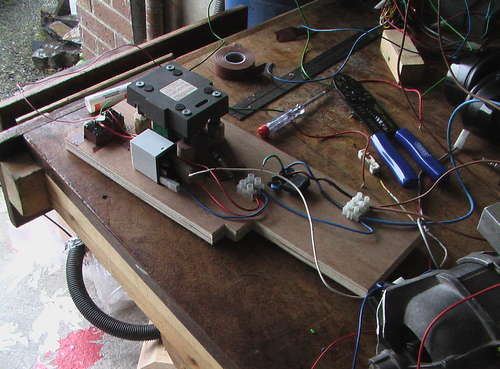
After a quick bench test, with electronics and crock clips all over the place, it is time to put the magic into the lathe more permanently and tidily. You need to make sure all the wires are kept firmly in place, away from the moving parts. I tried to mount the components that might get warm, to the metal panels to help dissipate the heat.
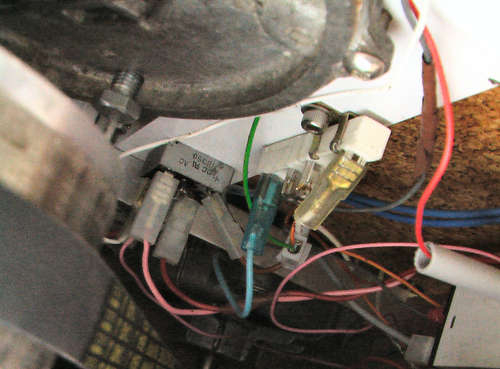
Mount the bridge rectifiers using a bolt, bearing in mind the wire routing. I added a touch of thermal paste on the joining surfaces to help it dissipate heat. I made some stand-offs for the main control board from some plastic moulding pieces snapped out of a junked appliance.
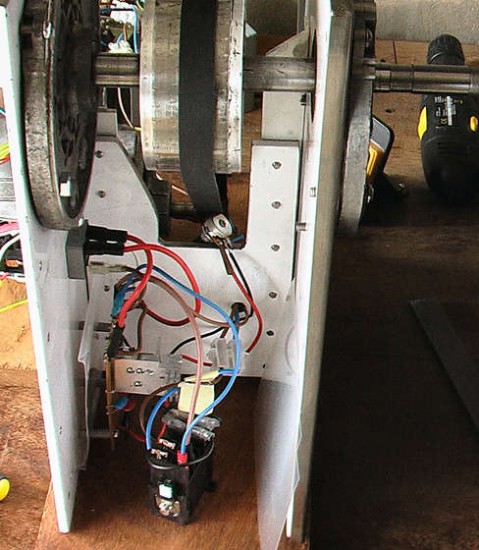
A piece of ply will fit at the back of the lathe, forming a housing. It will also be useful as a means to mount many of our components – starting here with the mains supply ‘kettle plug’, taken from an old computer power supply.
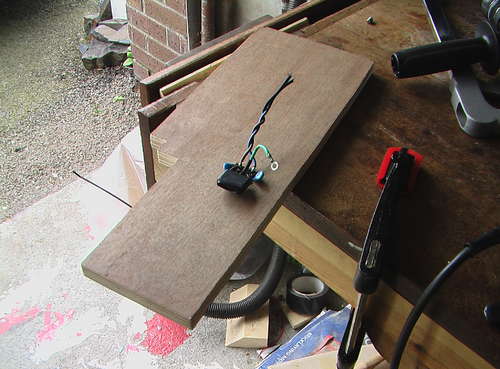
Using some old corks to make stand offs for the step down transformer.
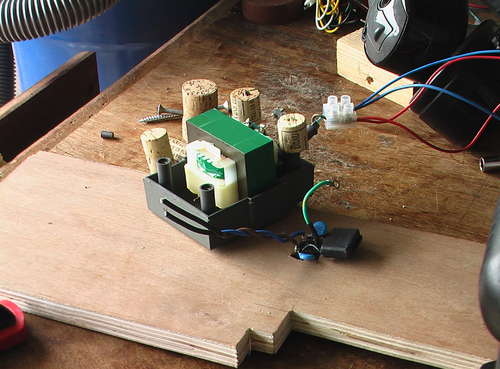
Transformer screwed on – with a nice air gap to allow cool running. The main braking relay comes from a scrapped electric shower and has a useful tab that can be screwed down.
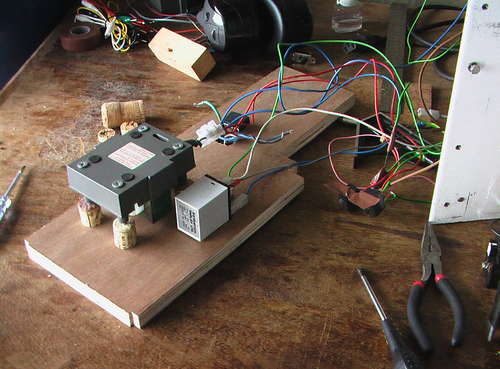
Using screwed down terminal blocks to make contacts. There are also two more relays added (top left) savaged from a washing machine.
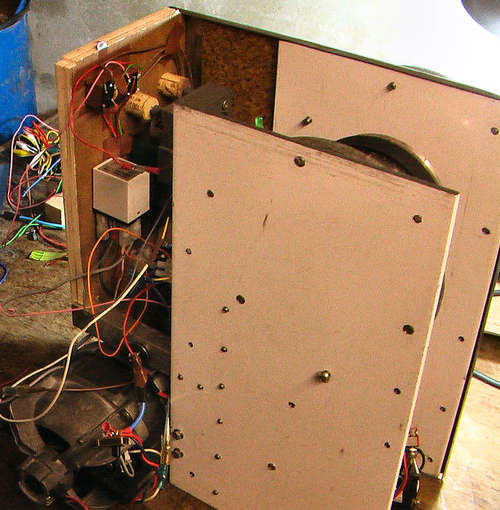
Backing board in place. Wires need tidying up – but otherwise… Notice the little green braking LED – it lights up when the motor is being braked.
Two high wattage resistors (out of a skipped TV) in series to make 14 ohms total. These are used to short out the motor brushes during braking.
April 2nd, 2011 at 3:46 am
I have a G.E. washer motor that I want to use in a different application, if at all possible can you show me how to wire it up. It only has 5 wires (red,wht.,yel.,blk.,blk./wht.
April 2nd, 2011 at 3:49 am
it will be much appreciated. thank you