Cyclone build part 5 – Putting it Together
Cyclone build part 5 – Putting it Together
Now we have our upper body and our cone, it is time to put it all together, mount it on an air tight container of some kind, hook it up to the vacuum cleaner and test it out. This is the super exciting part, where you get to watch the dust speed gracefully to its new home.
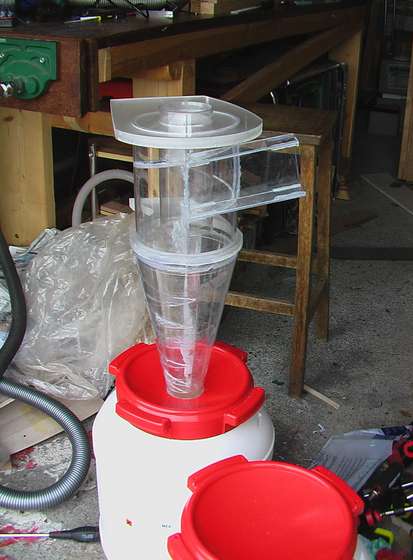
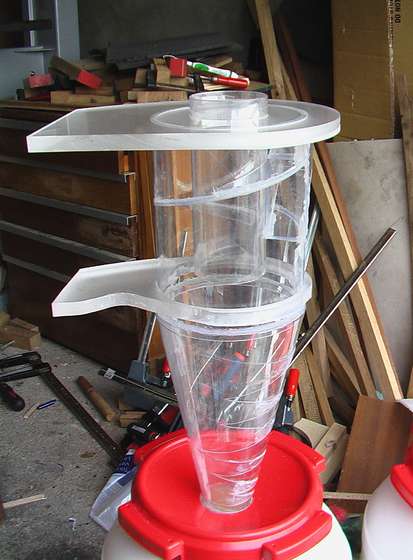
Before fitting the cone to the upper, with a sharp knife I cut the bottom edge of the upper body at an angle, so that when the cone is fitted against it it forms a seamless join. This way, on the inside, where the cone meets the upper there is no lip or disturbance to disrupt the smooth airflow. Once that is done I hot melt all the way round to make a strong and airtight join.
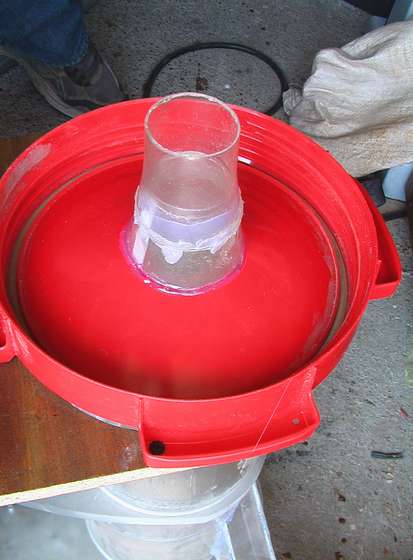
Then we just need to get a suitable hole in the dust collecting container and glue that up. Here, because I wanted my finished height to be lower than the total height of the cyclone + the barrel, I made a slightly bigger hole and sat the cyclone lower down. This has the added advantage that the whole thing is a bit stronger and more stable (not that it matters much in this case because it will be mounted to a solid side of the DS’s enclosure.

That bit of half pint glass is stuck on the bottom of the cone to make the dust chute. The cone is then stuck into a hole made in the lid of the barrel. I chose to have it poking this far down so that the finished assembly was not so tall. But to make most of the barrel you could have it stuck right at the end.

As mentioned, the mounts you see will attach to a side wall of the dust sniper.

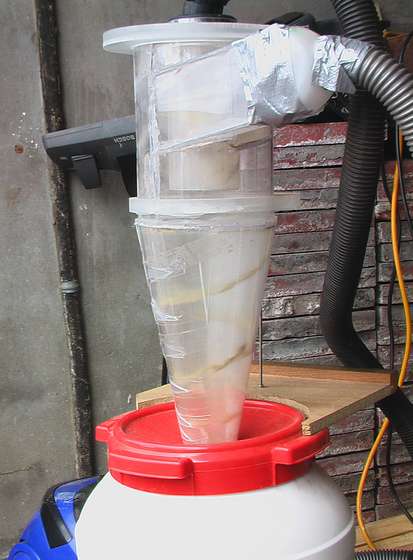
After all that I don’t believe anyone would be able to resist bodging up some vacuum hose connections and trying it out immediately. I used a liberal amount of duct-tape and a washing up liquid bottle to connect the hose up and gave it a whirl. Result: no dust going to vacuum bag and dust in collection barrel remains undisturbed even when the vacuum is on. In short, we have swirly helter-skelter style dust extraction – wooha.

So the rest of the dust sniper project can be found here on instructables. If you found this interesting please share the love and like our facebook page, on which you can see what else we are making.