Oversize turning
It was plenty mouldy when I uncovered it, and also a new nest of little flying ant like creatures, which was unexpected! My hope was that it would have nice spalting patterns all through.
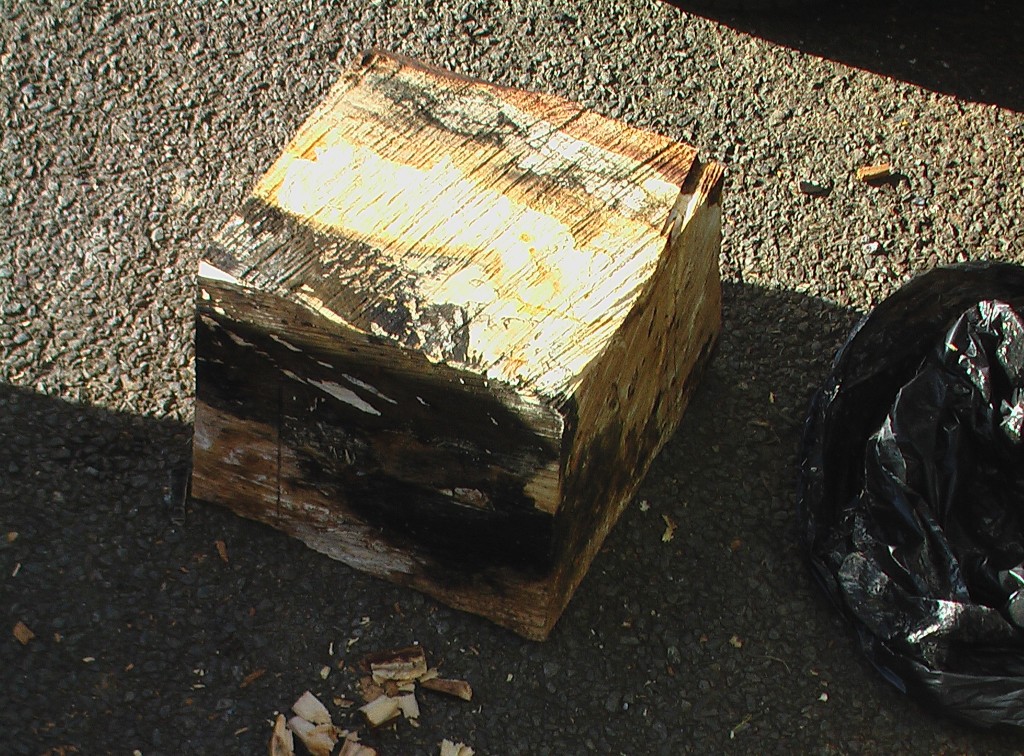
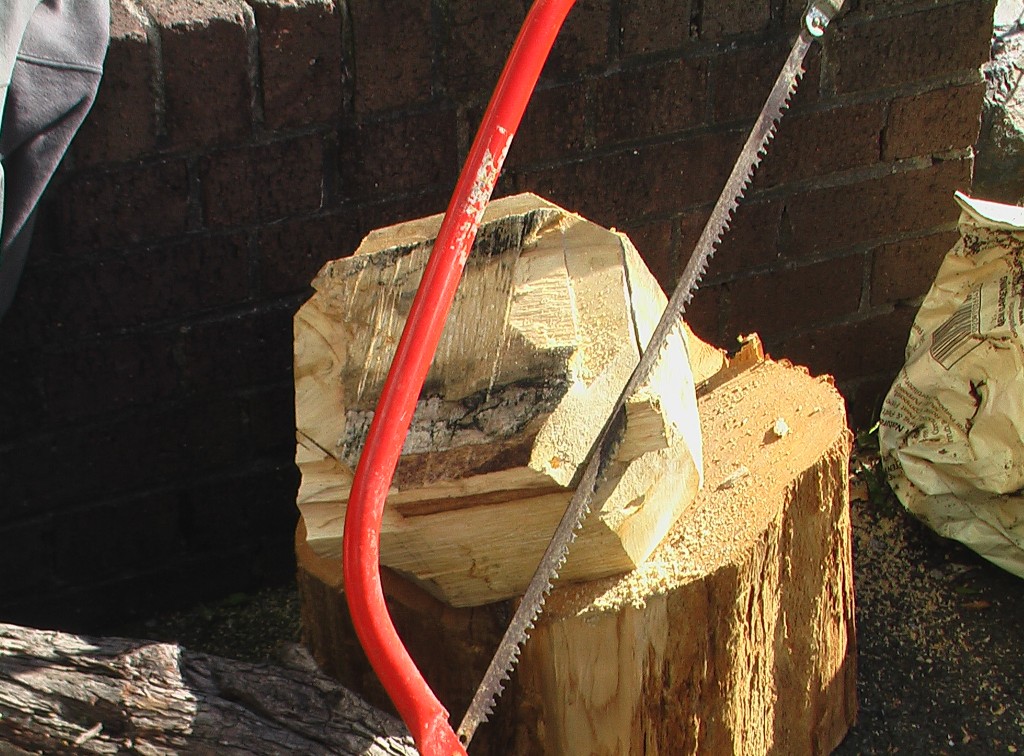
So the first step was to scrub of as much of the surface mould as possible and brush away the bugs. I then began to cut off the corners – essential if it was going to fit on our meagre home made lathe, let alone turn down nicely. This was a long and sweaty task with the cheap old bow saw.
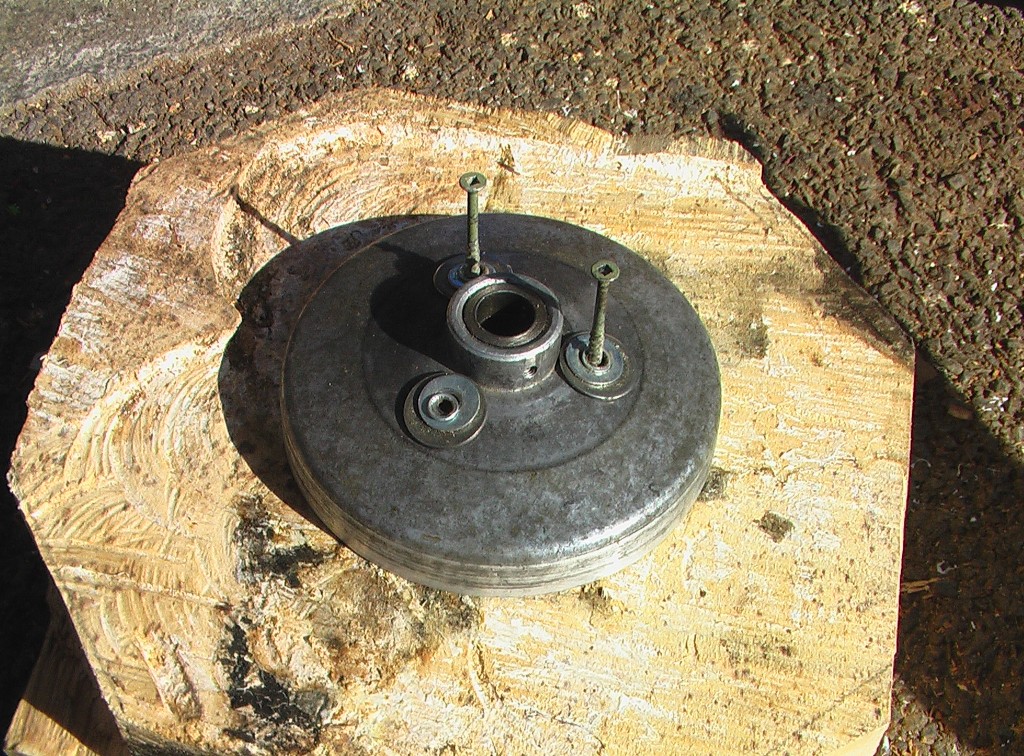
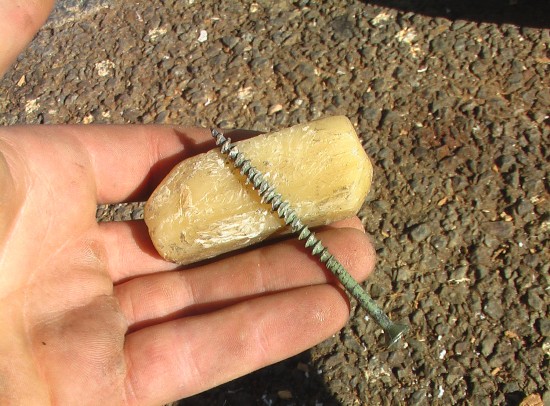
Next I screwed on the faceplate. I like to rub beeswax on the screws before driving them home – aids them in going in and helps prevent corrosion.
Now the block is mounted and the new test ‘tailstock’ is moved into position. I adjust the tool rest so that it just has clearance.
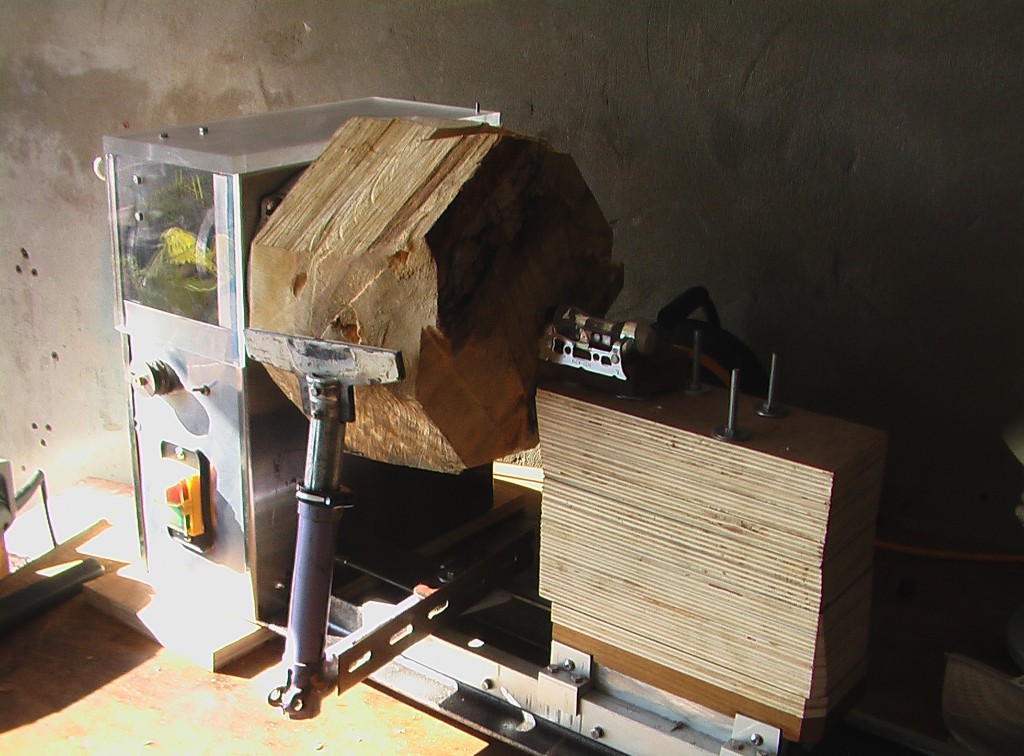
Roughing out is going ok, but is slow because the speed is necessarily kept slow. This is simply a bit too big and heavy for the lathe.
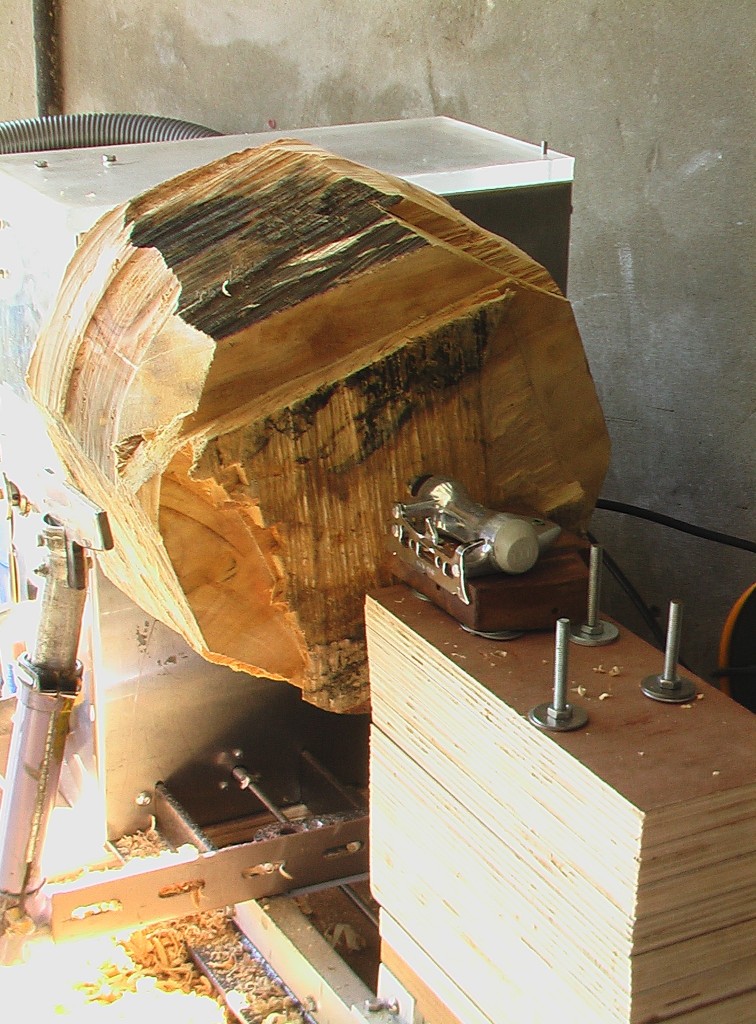
The closest side will be the bottom of the bowl.
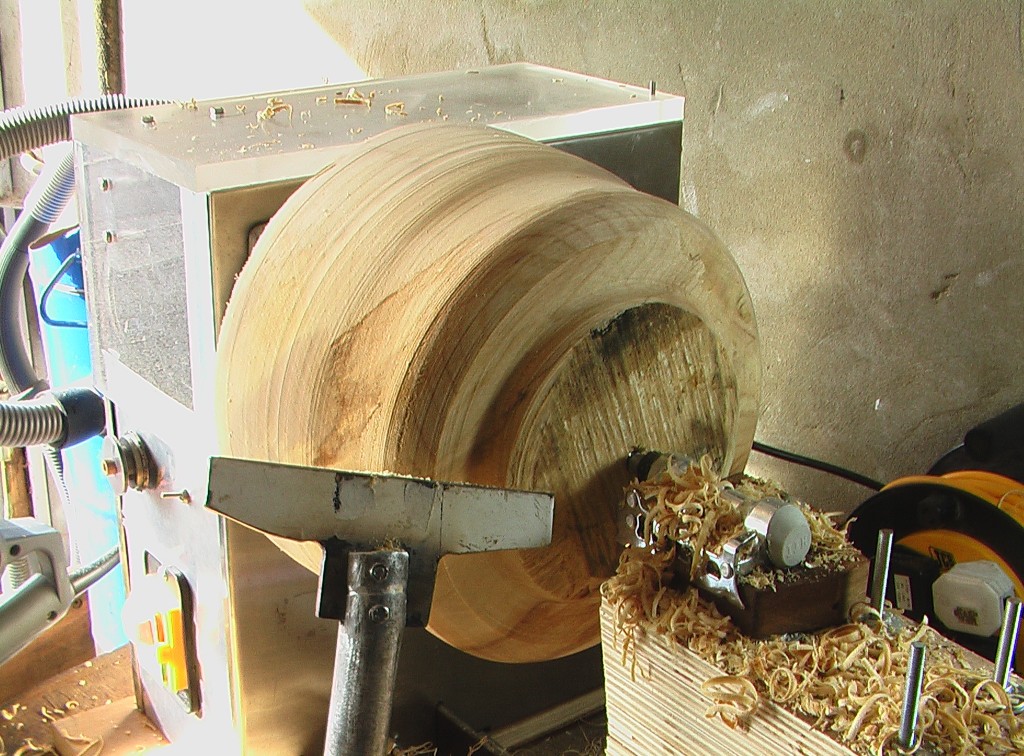

I turn it over and mount it onto a ply faceplate. I do this so that I can attach it with lots of smaller screws – that way we will not be left with three large holes on the bottom.
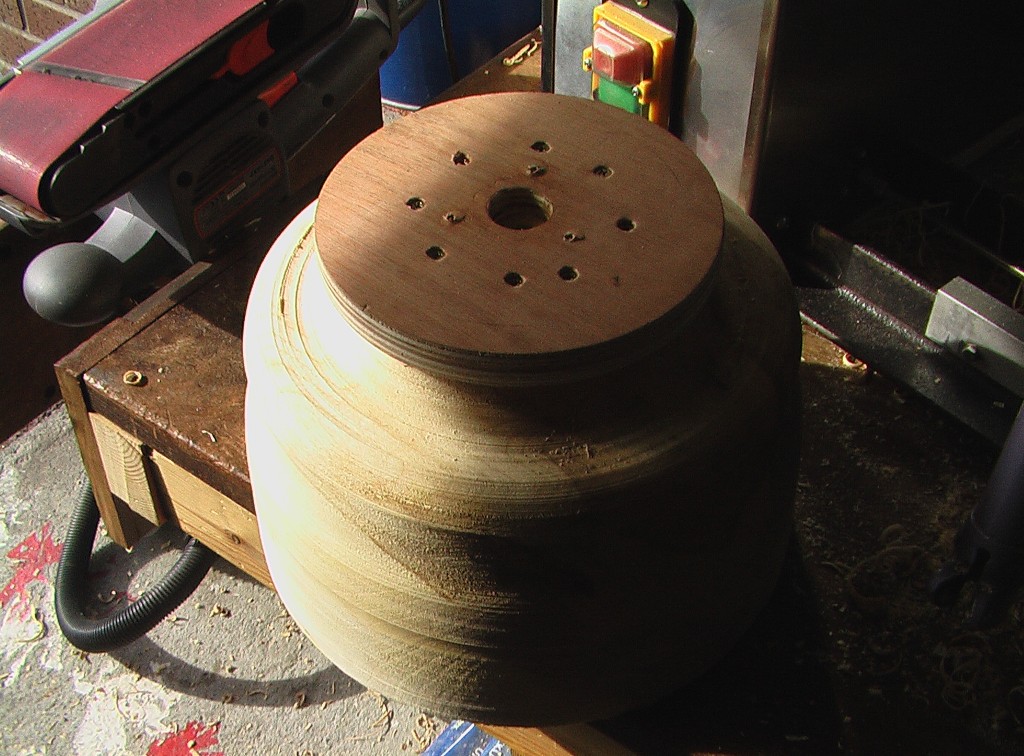
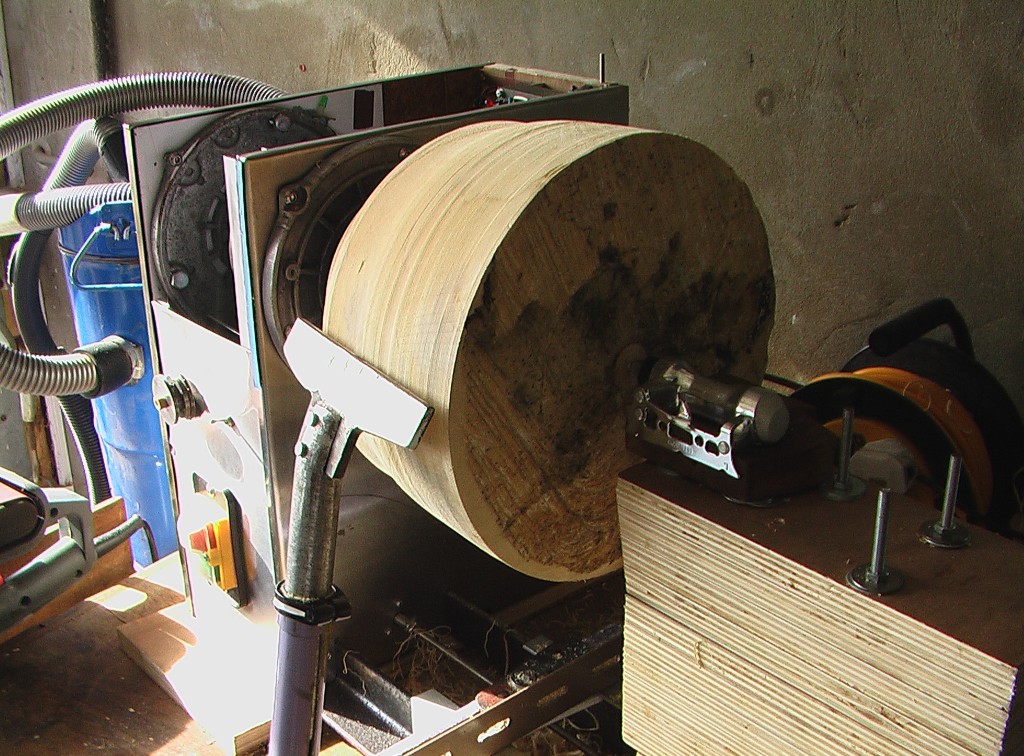
After some hollowing out I decide it is time to shape the outside some more.
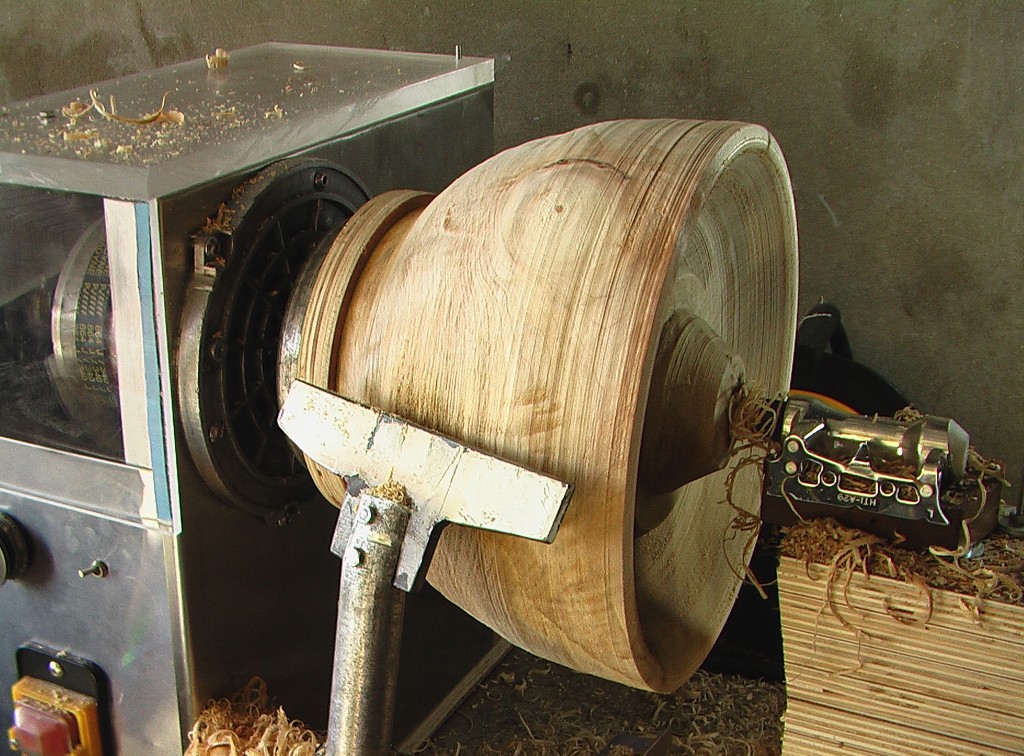
Back to the inside. The tailstock is taken away to allow room to get at it. I start it up very slowly, and with breath held, but it seems to turn ok when slow…
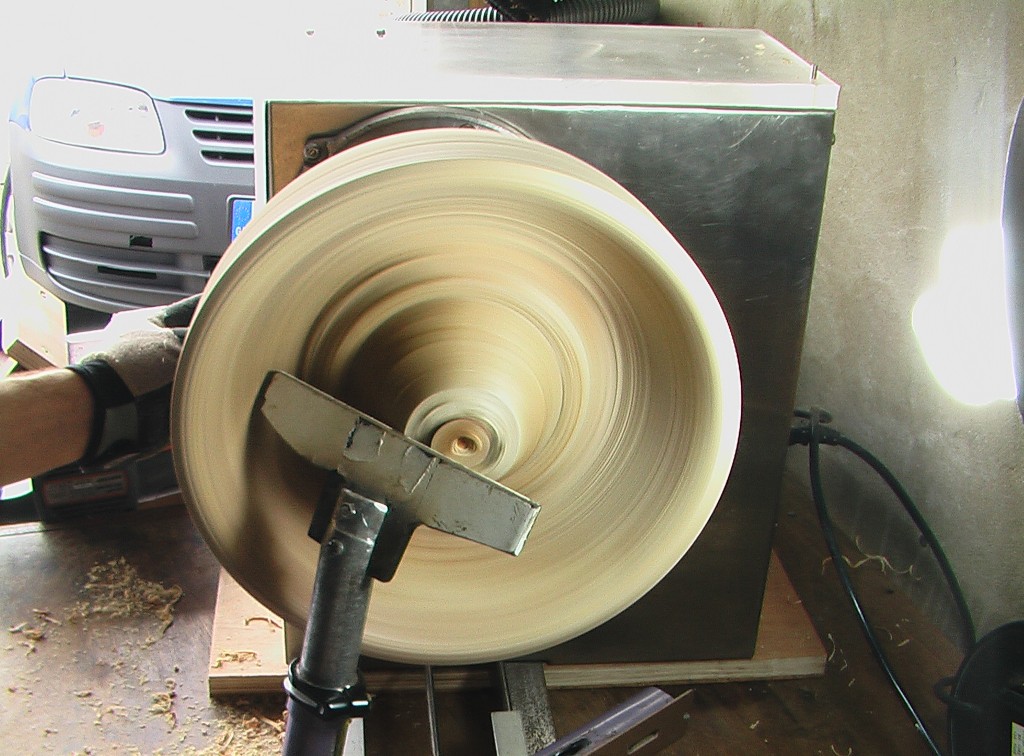
Now it is starting to look like something. I am having a lot of trouble getting the tool rest in far enough. I have started using a scraper (that’s right a scraper!) to do right in the hard to reach bits.
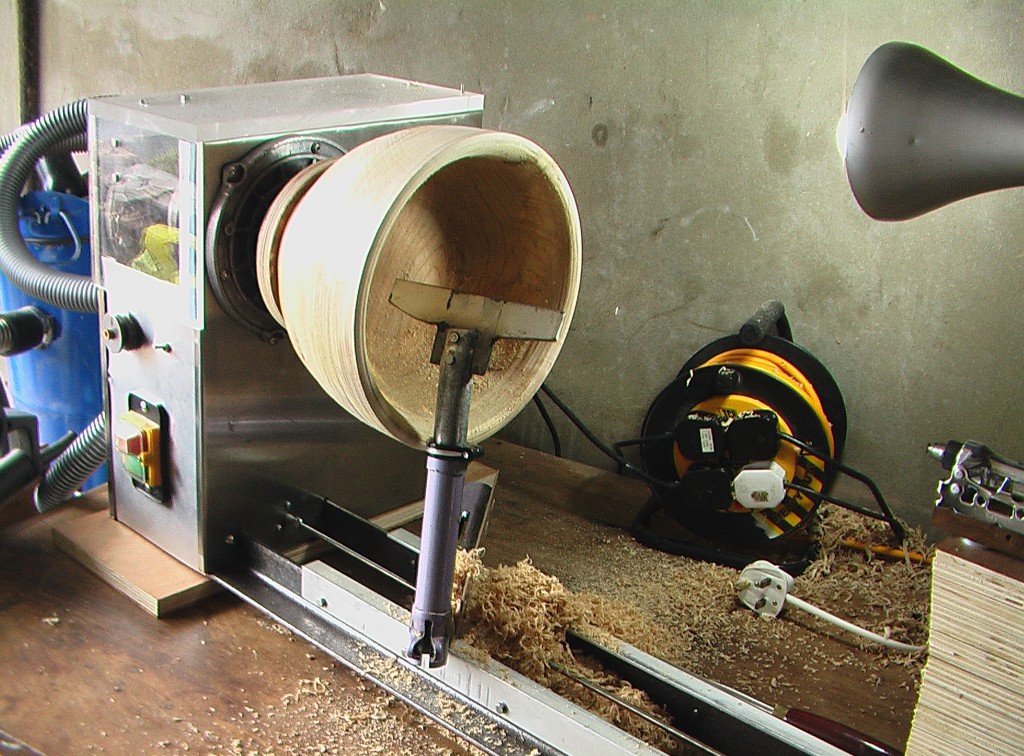
At this point it is about ready for sanding. It has developed a few cracks, which is sort off expected with this wet turning. I super-glue them in the hope it will keep them small.
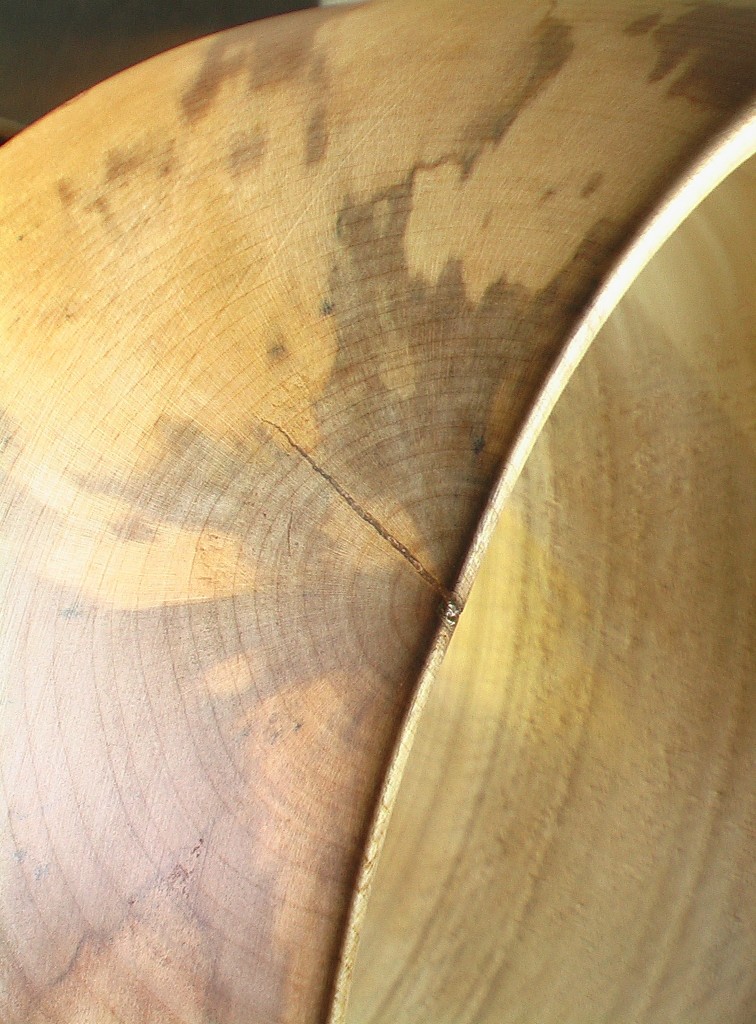
The outside has had a fair bit of sanding and the grain and features of it are coming out nicely.
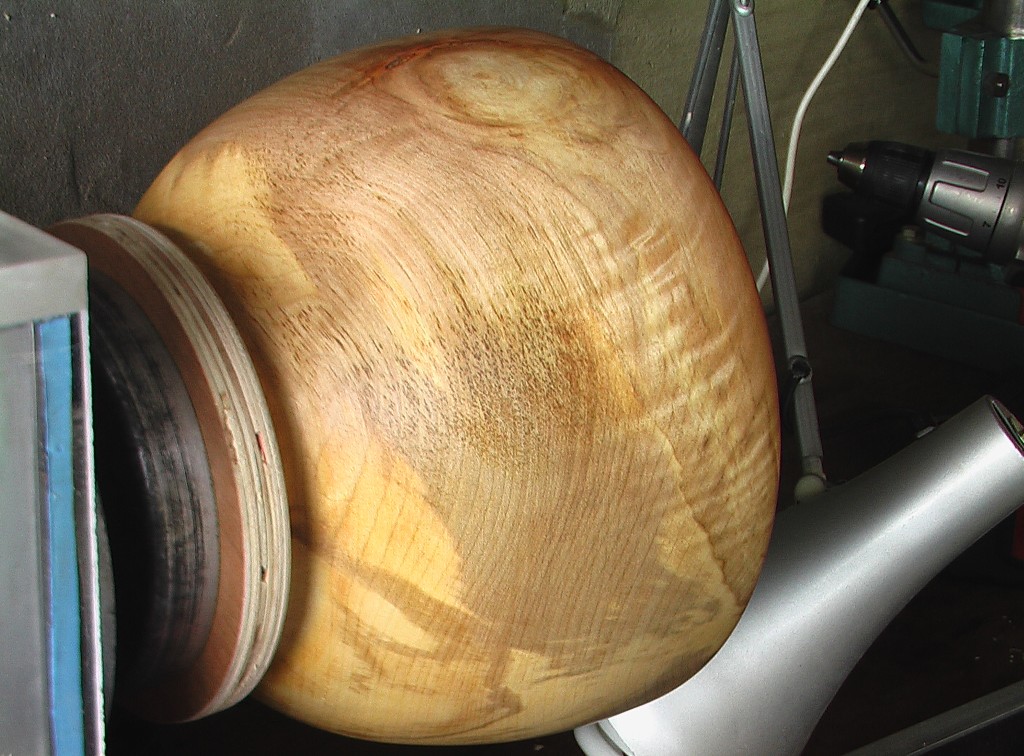
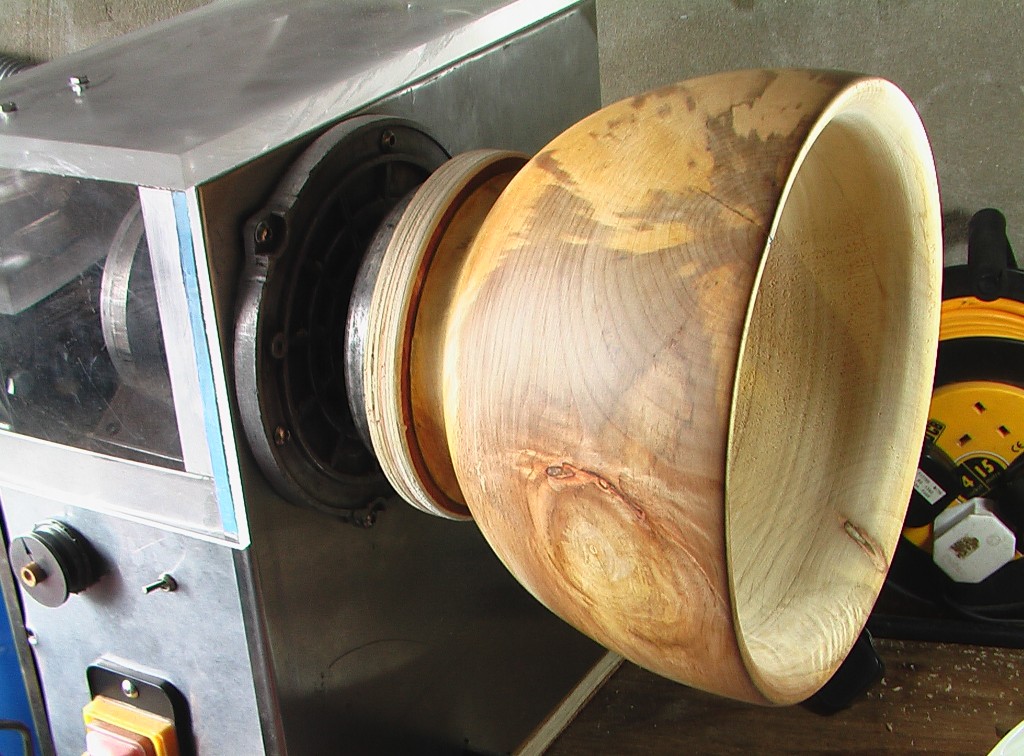
This is where I am up to now. I expect I will spend the rest of the day sanding the inside and applying a finish. Will update tomorrow. Hope you enjoyed, let me know what you think.