A two tank vegetable oil conversion on a 1.9 tdi
This tale is about trying to run carbon-neutral by converting our 1.9 tdi PD diesel engine to run on straight vegetable oil.
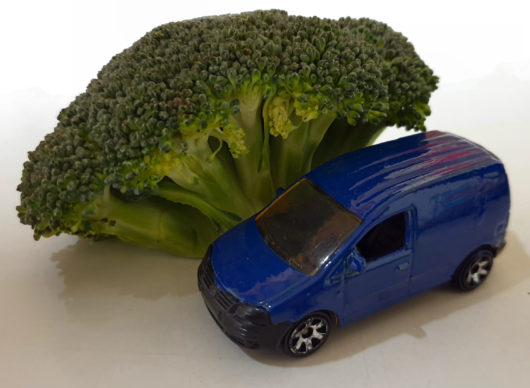
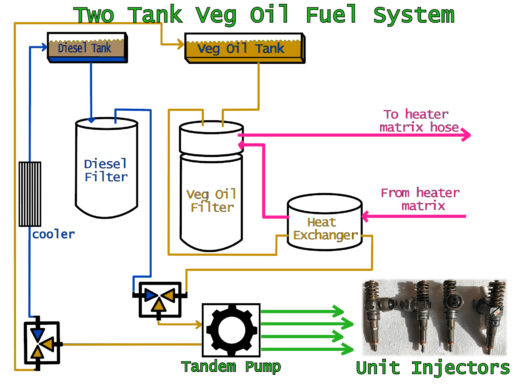
It’s an experimental and somewhat controversial procedure, which is why we hadn’t done it long ago! We are using a conversion kit from a company called Biotuning, here in the UK. The basic idea is to add a second fuel tank, a heated fuel filter, another heat exchanger, and two solenoid valves, that control which fuel is delivered to the engine.
There is a complete animated explanation of the two tank veg oil system in the video, but here’s the general idea:
Vegetable oil Viscosity
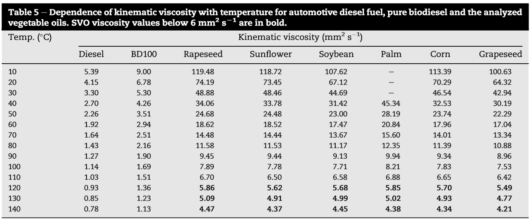
The reason it’s inadvisable to just shove veg oil straight into your tank, without modifications, is that it is much thicker, that is, more viscous than diesel at the usual temperatures on the surface of our lovely Earth. However, when it’s heated veg oil thins and starts to behave more like diesel fuel. This could allow it to be pumped to the engine and atomised in the injectors in a similar way.
At about 120°C (~250°F) regular vegetable oil viscosity starts to look more like that of diesel’s – see below. In the table anything below 6 mm² s-1 is considered ok for use in a regular diesel engine.
Installing the veg oil kit
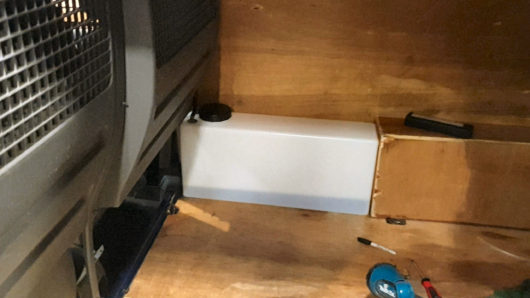
Lets talk about the installation of the two tank kit. Shown below is the additional fuel tank. This is a 30L tank that will be used to hold diesel fuel. There are loads of options here, but one of the simplest seemed to fit it in the caddy van itself. After some measuring and hunting about we got one that went nicely with the wheel arch boxing.
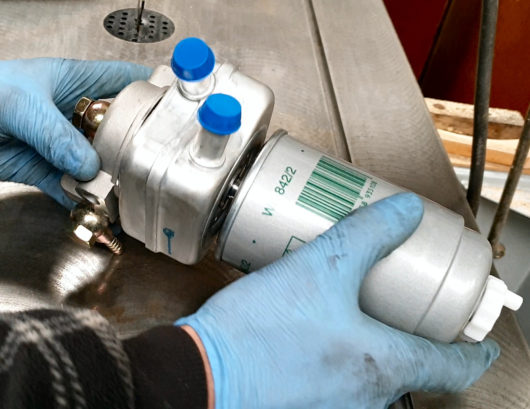
We want to add this heated filter. It has two connections for the fuel (in and out) and two for the coolant (in and out).
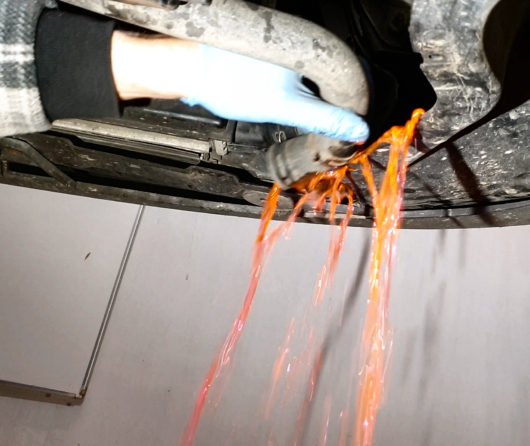
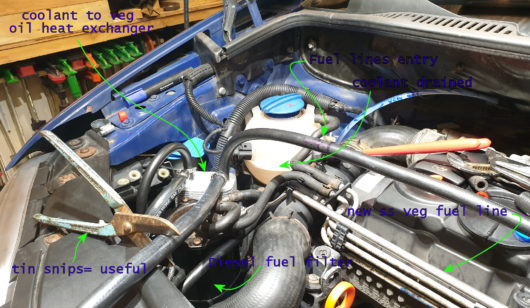
Before cutting into the coolant run, we need to drain the system, which should be easy…
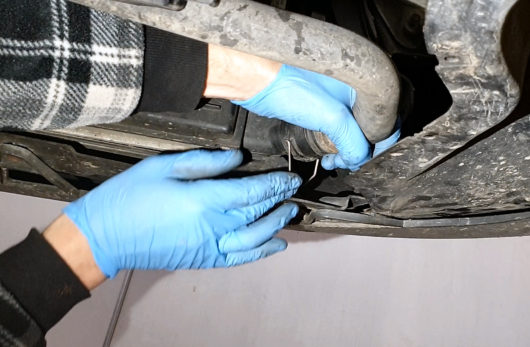
Just unclip this, and these radiator fittings should just pull off. This one wasn’t going anywhere though, so I unclipped the rubber from the plastic vw “quick release” fitting. I have since learned (after doing much more work on the engine cooling system) that a spray of wd40 into the rubber seal area of these fittings really helps them off…
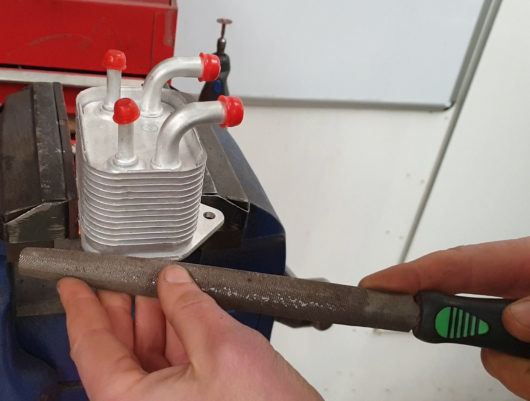
Once drained, we can also situate the supplementary heat exchanger. In our case it needed a bit of cutting to fit in where we wanted it…
We also find a nice spot for the new veg oil filter. Down here we can easily do filter changes without dismantling anything, and any spilled fuel just goes on the ground, rather than in the engine bay.
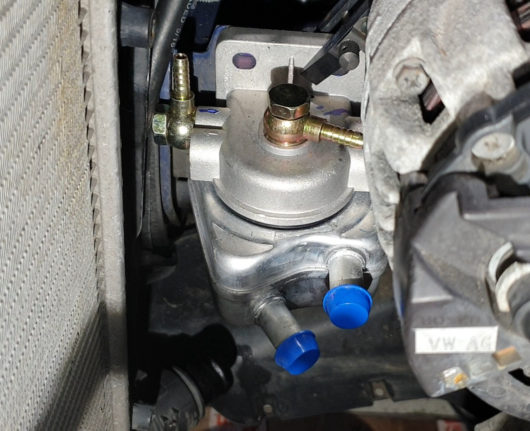
Now time to work out the coolant hose routing. We are t-ing into the system from these hoses that go to and from the oil cooler…
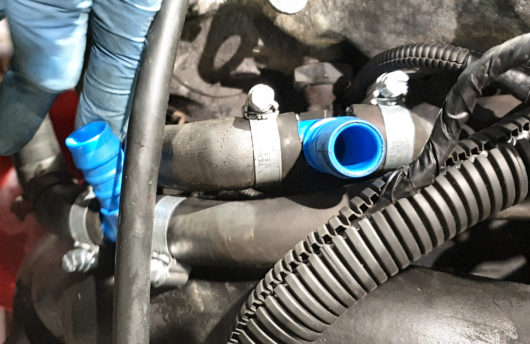
We are using the ‘clamptite’ wire wrap hose clamp method, on these coolant hoses…
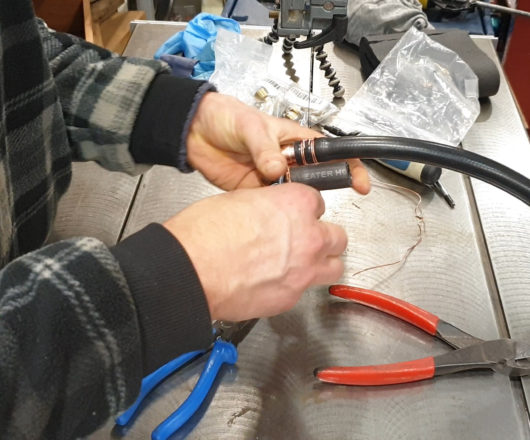
Gloves, gloves, gloves.
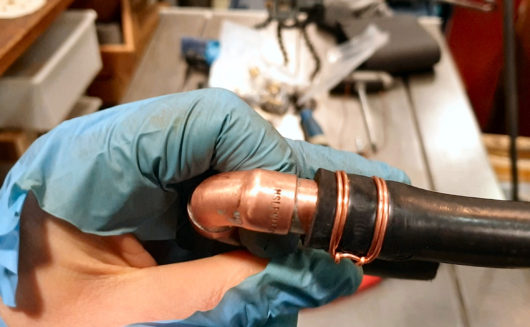
Here’s how the hoses are routed… Click to enlarge.
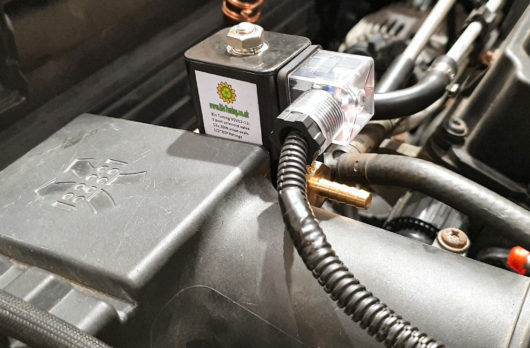
Here’s the fuel supply solenoid valve. It’s the large boar biotuning unit and switches between diesel and veg oil supply.
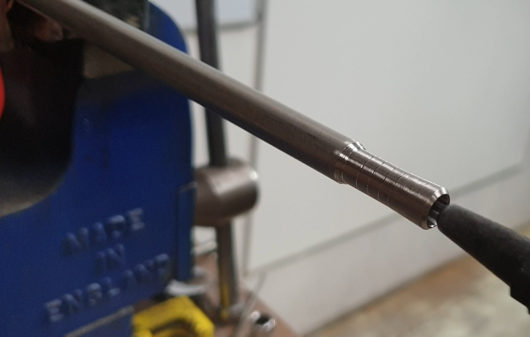
I use one length of scrap copper and one of stainless to carry the coolant and fuel across the engine bay respectively. I used the lathe to make suitable ends on the pipe for the flexible fuel hose to slide over.
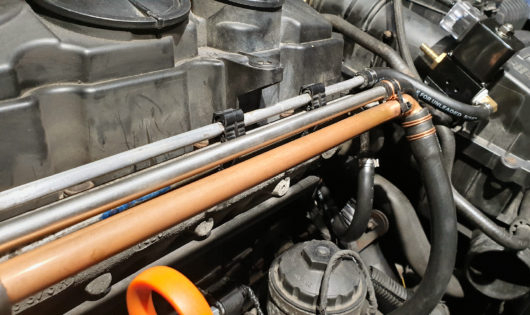
Below you can see the setup: diesel is coming across the original alu pipe, veg oil in the stainless one, and coolant is travelling back in the copper pipe.
I plan to wrap neoprene insulation (scrap wetsuit) round the coolant and stainless pipe to help keep the veg oil toasty.
The tandem pump relies on the lift pump to keep a good supply of fuel coming. Without this the tandem pump can suffer cavitation, which leads quickly to failure. For this reason we need to add a fuel pump to the new tank we added.
I made the mistake of using this salvaged fuel pump. More on that later.
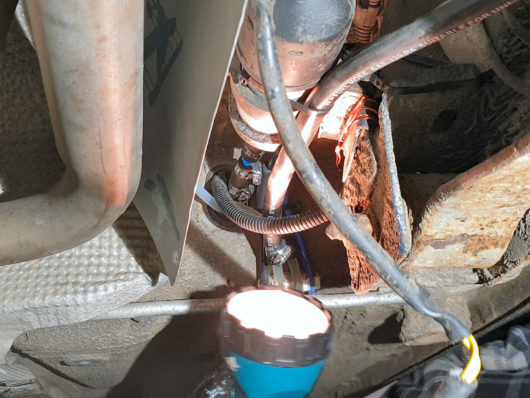
It is mounted on the underside, and has a little bit of extra heat shielding from the exhaust…
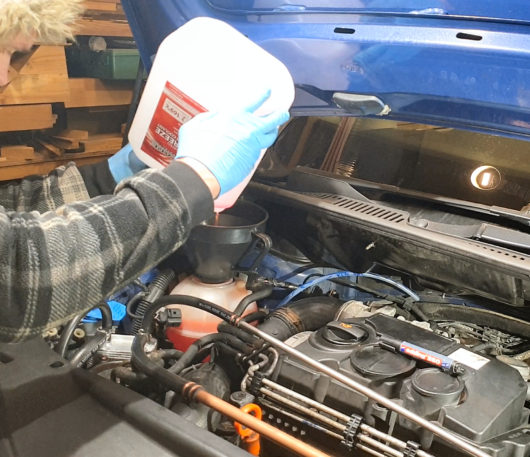
After double checking everything, it’s time to refill the coolant system. It now takes more coolant than before, because of the extra volume of the heat exchangers and added hose.
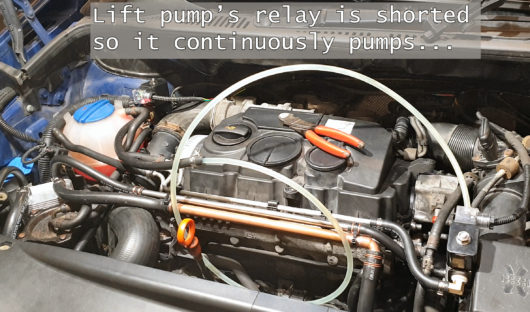
With that done and everything mostly assembled, I test the system by pumping fuel from one tank to the other, and back again – the flow being controlled with the solenoid valves.
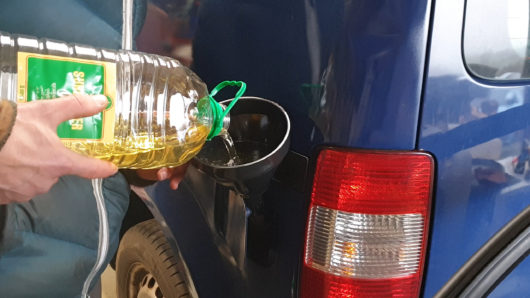
After fixing a few small leaks, and verifying the system is fuel-tight, we can fill up the main tank with its first veg-oil! :D
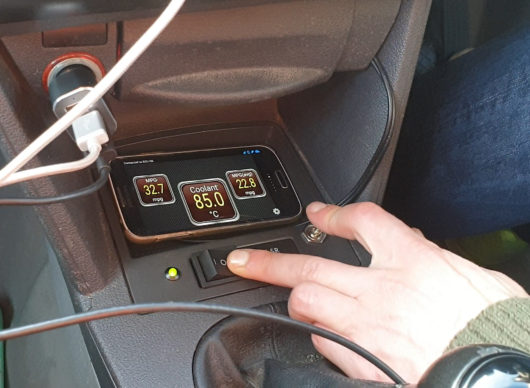
There’s a lot more to it than that, but I guess if your’e interested you will watch the youtube video. When driving we start on diesel, after 10 mins or so, when the coolant temp reaches 85C, We flick the switch and we are running on preheated veg oil!
After 500 miles of successful driving on veg, the tandem pump failed – there were good reasons for this, which we will go into next time (Check out the video here)… Essentially though, seal between the engine oil and fuel blew, allowing the sump to fill with diesel :( Much more on this later. For now lets end with a pic of the engine being changed.
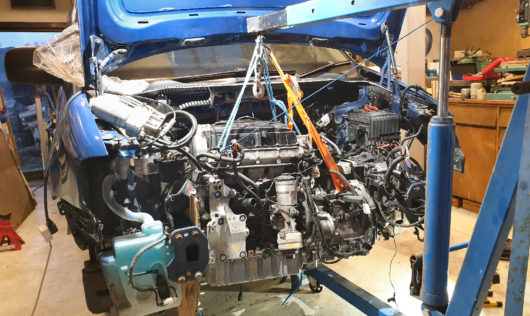
Update! Engine changed – and back running Veg oil
Ok so here’s the whole engine changing saga in slightly shortened video glory! Hopefully a useful resource for anyone who wants to do a complete change. It was quite an exciting project for a novice wannabe mechanic! Long story short, the van lives, and currently runs on veg oil, yippy!
| Tweet |