In the latest video I give my rusting old van a new lick of paint using the new upcycled air compressor setup. That is to say, I did a complete re-spray – quite the project, that involved learning a lot and making quite a few mistakes. But ultimately, it was successful and we get into many of the details of spray painting in the video, including: setting up a DIY ‘spray booth’, paint prep work, using water based paint and 2k clear coat.
26 Painting Tips
When I was researching this I found lots of conflicting and confusing information, so I made the video I think I would have wanted to watch prior to painting. To that end, there are twenty six (!), tips ordered roughly …Continue reading »
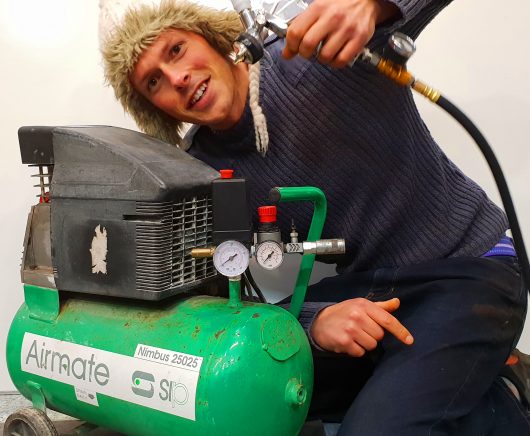
Most pro-grade spray guns for painting require something like 7 to 8 cubic feet per minute (CFM) of clean and dry compressed air at about 35 psi of pressure. That usually requires a very large expensive compressor. In this instalment we make a super cheap compressor system capable of delivering! In the process I add a pipe run to the workshop that can distribute the air. That way once we are done painting our rusting van, this project will carry on being useful by allowing use of other air tools (primarily the air dusting gun, sand blaster, and potential an air nailer – the latter two also being quite air hungry). Click the pic below to check out the video, or continue reading for a some related snippets of info.
There are three main steps to making this system work: lets start with conditioning the …Continue reading »
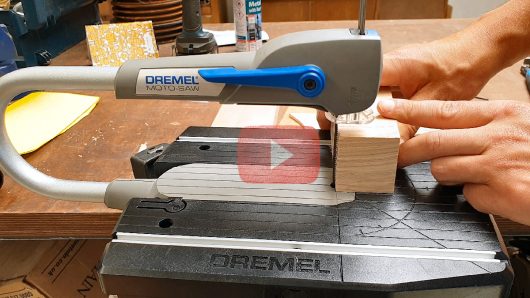
The Dremel Moto-Saw arrived in the mail from the US the other day – excitement! It was a prize for the everlong stove top fan instructable which was in the ‘Trash to Treasure Challenge’. So the saw claims to be a 2 in 1 tool, a fretsaw (electric version) and a scroll saw. Lets take a look and see what we think.
Click here to watch the video review, or read on for some extra little snippets. My first impression of the saw was that of …Continue reading »
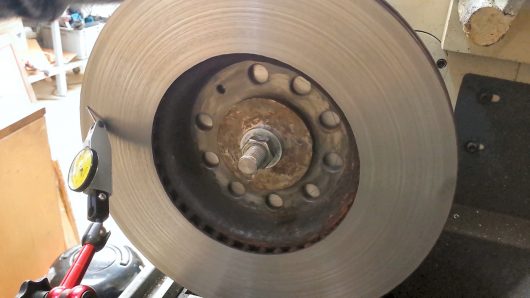
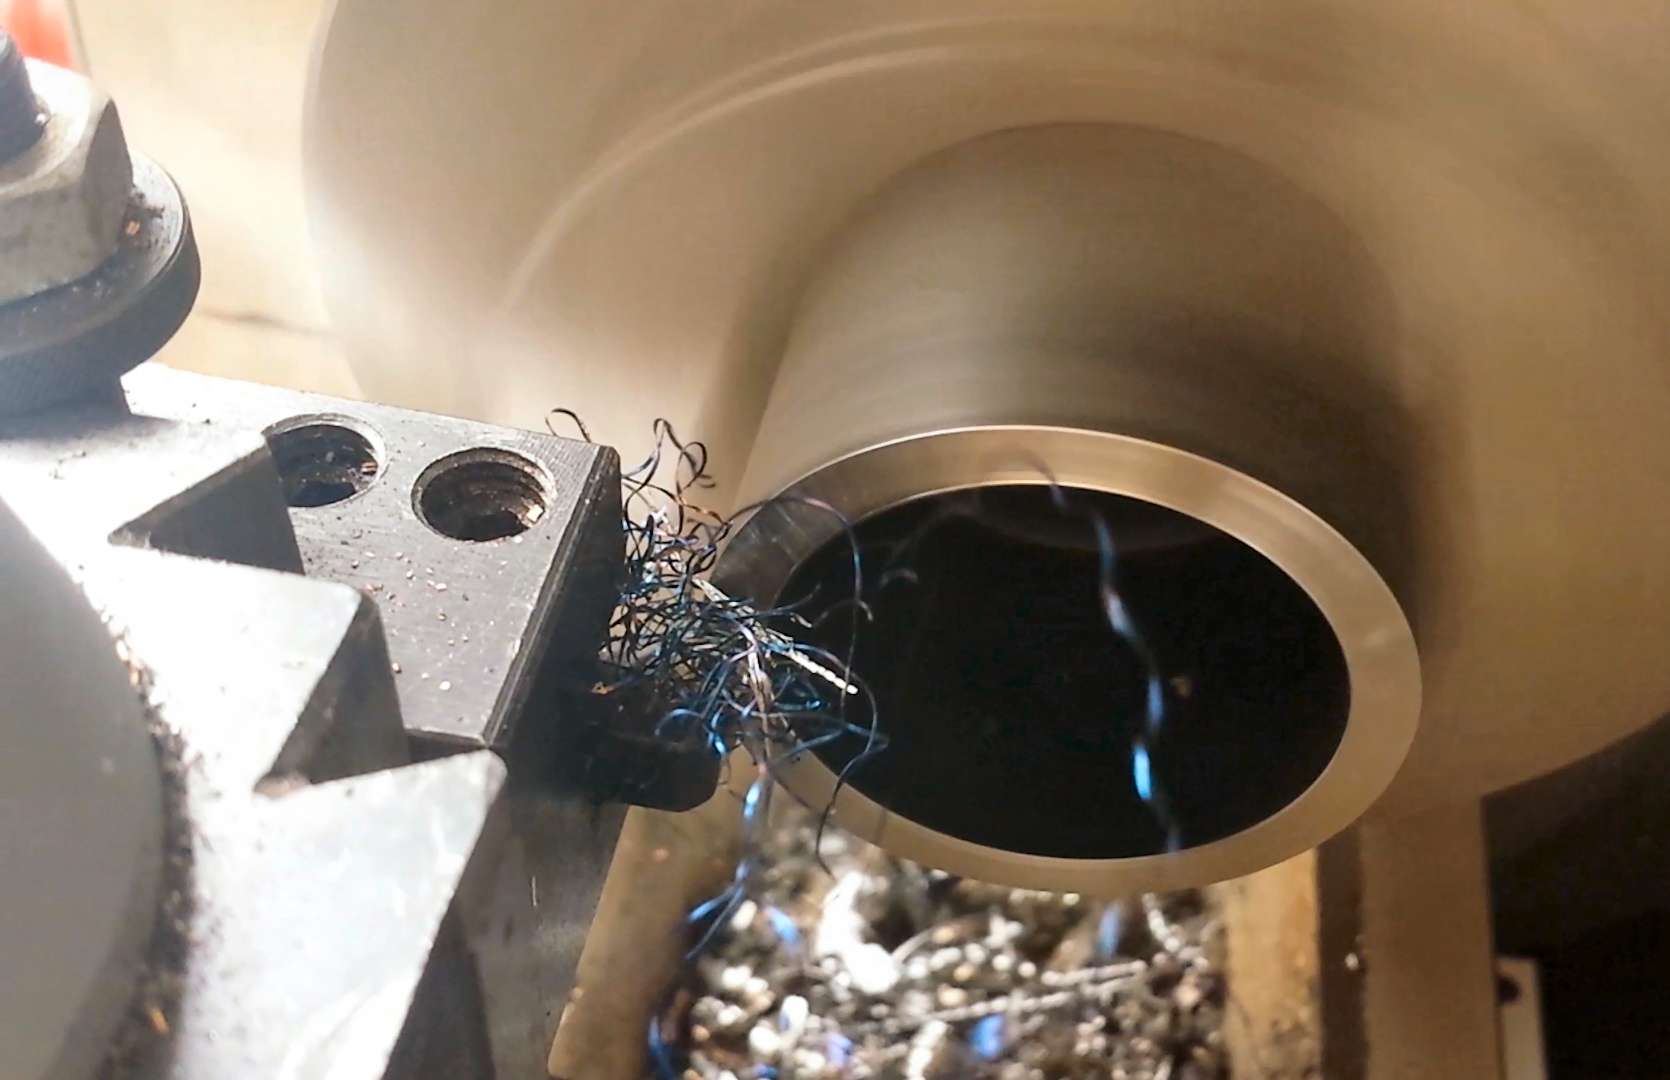
No simple answer to this question, as there’s so many factors to consider. Unless of course, your irresistibly intrigued to see if you can actually resurface your brakes in the home shop! That’s one of the main reason I went ahead and had a go…
You can click the pic above to see the video walk-through of the whole process. Essentially it involved making a fixture for the lathe so the brake discs could be mounted consistently and squarely without lots of fiddling round with the chuck.
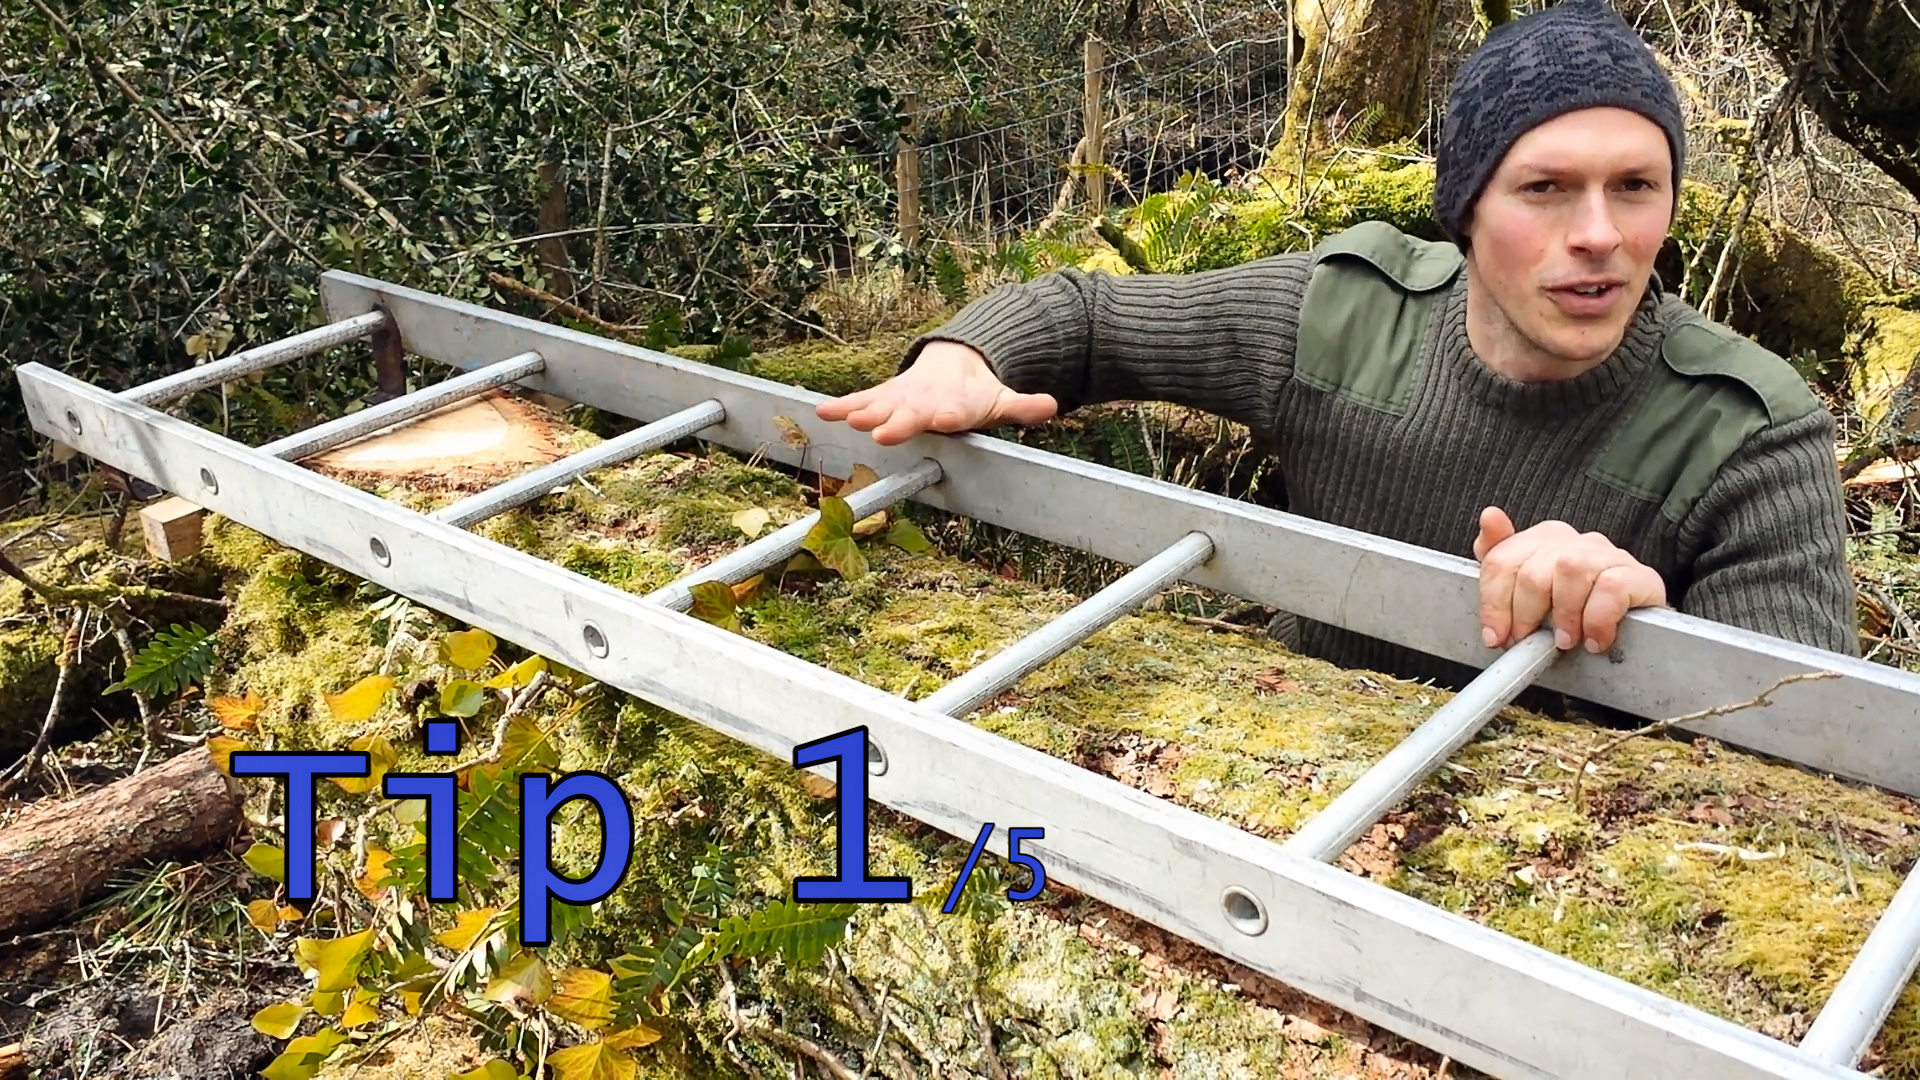
I’ve been busy milling up this wind felled Oak, and thought I’d put together another tips vid for you!
Click the photo above to watch the five milling tips. They can basically be categorized into ‘setup tips’ and ‘post-milling tips’. Tip one is a manifesto on the importance of setting the straight edge and getting the initial cut right. Whether it’s a ladder or something else, secure it more firmly than you think you need to. It’s possible to correct a twisted first cut, but it’s a right pain.
When you do set up a log for cutting, make very sure the log cant roll. A recent video of Frank Howarth really brought this home, as he had one roll on him mid …Continue reading »
If you use a wood stove to heat your workshop of house, you will know it is very different to other kinds of heating systems. On of the problems is that unless it is plumbed into a water circulating central heating system with radiators, it can be difficult to get the heat from the stove evenly distributed about the place. In fact a big problem is stopping the heat simply escaping up the chimney, and I have written at some length on this here in relation to my experimental sideways burning stove. A standard electric fan is one way to distribute the heat – but they use energy and can be quite noisy.
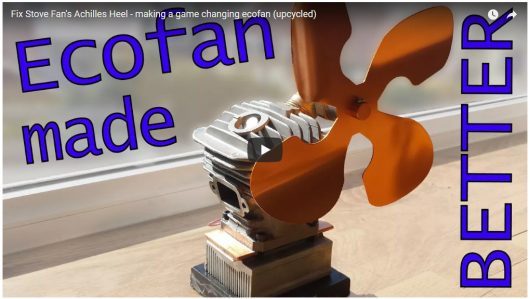
Stove top fans still use electric motors, but are low key enough that they are virtually silent, and are powered by the heat from the stove. I have made a number of these fans now and they work great. The one key downside is that the TEG (thermoelectric generator) tends not to last too long.. Why? Because it invariably experiences overheat conditions at some point when the stove gets hotter than usual.
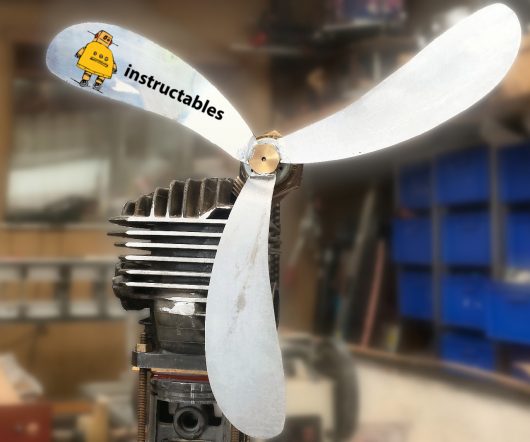
My latest tinkerings fix this problem! I have published a really comprehensive instructable of the upcycling adventure. If your interested in making one do check it out! It’s entered in their ‘TRASH to TREASURE” competition, so if you feel like showing your support please do head on over there and vote for it! It’s all free and Instructables is awesome.
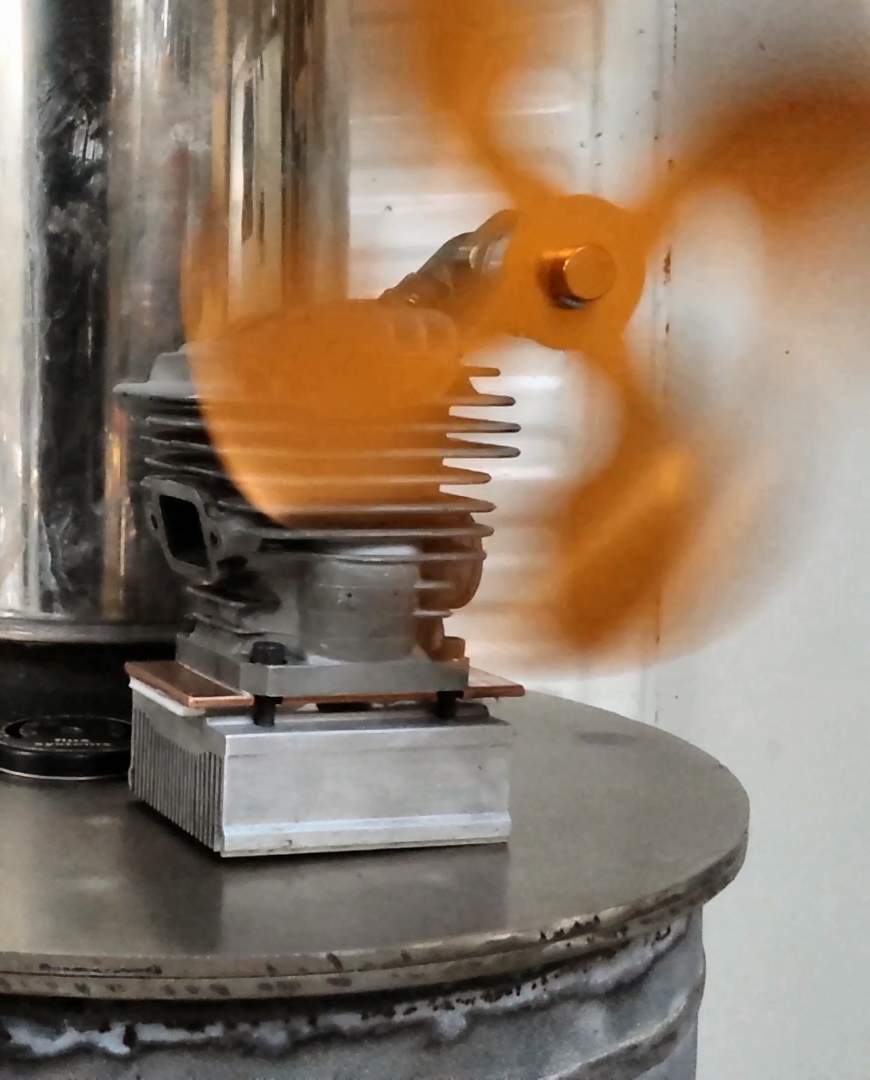
I am using an automotive style thermostat attached to a sprung loaded sliding pin to mechanically lift the ecofan off the stove top when it overheats.
The thermostat is housed inside the hot-side heat sink (an old chainsaw jug), with the motor mounted from the spark plug hole. When it is in overheat it tilts up so only a corner is in contact with the stove’s hot plate. the air gap effectively reduces the heat transfer and the fan cools off a bit, before lowering back down. If you are interested do watch the youtube video and/or check out the instructable for the complete lowdown.
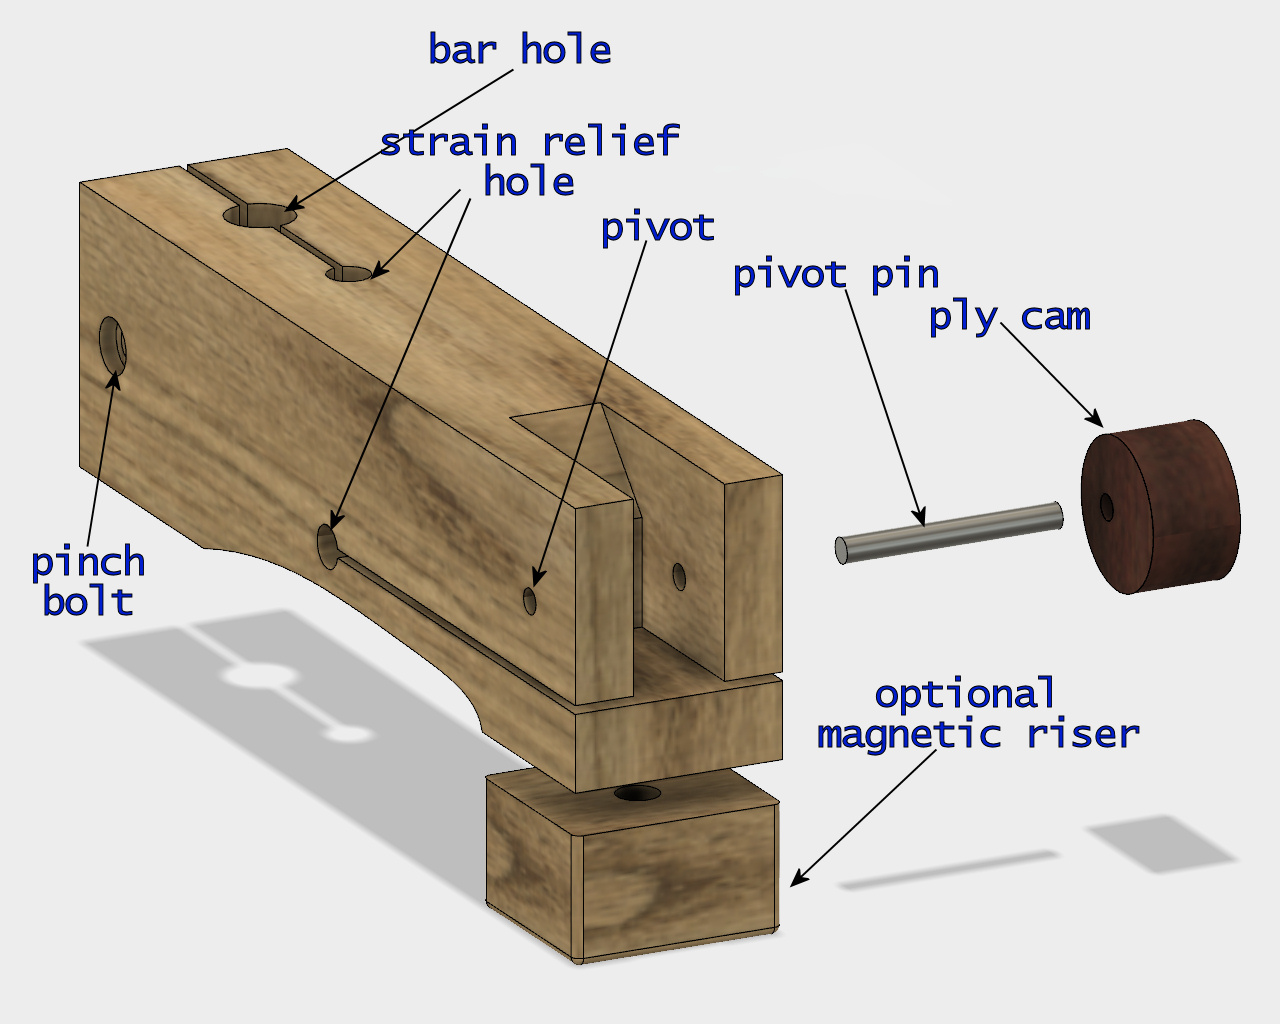
I have been threatening to make this quick clamp for the mitre saw for about as long as I have owned the mitre saw! Not having to have your hands anywhere near the blade when you cut things is a huge safety bonus, and now I have it done I am super befuddled as to why I didn’t make this clamp sooner. Check out the full ‘how to make a hold down clamp’ video here if you want to see the build.
The bar of the clamp is made from one round steel bar about 280mm (11″). Mine was 16mm (5/8 inch) diameter, which fit the …Continue reading »
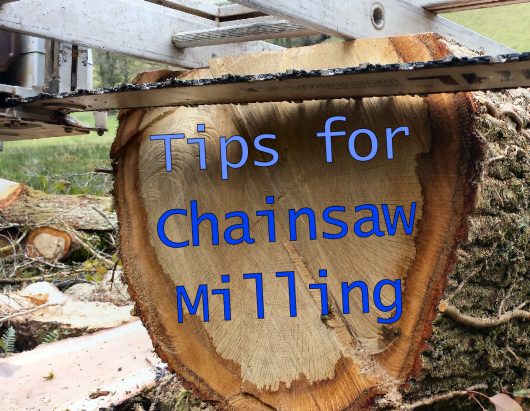
The latest video is a bite sized chainsaw milling tutorial. Did I mention there are 17 tips?! Lets get straight into it. Click here for the full milling tips video, or click here for the article…
1 The quality of your finished boards can be improved greatly by easing the saw into …Continue reading »
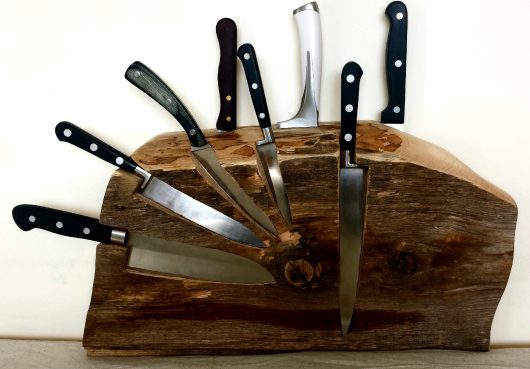
I’m calling it a ‘hybrid knife holder’ because it uses traditional slots (the back three long cook’s knives), and a combination of magnets and indents, to hold the front ones securely in place. It’s made from an old chunk of ash firewood. I really liked the natural split edge with its wavy grain and central knot, so as much of that stayed as possible, and indents were routed in to make flat little cubbies for the smaller kitchen knives.
The photo below is the reveal – and shows how the magnets were …Continue reading »