Upcycled & Modified Compressed Air for Spray Painting Our Van
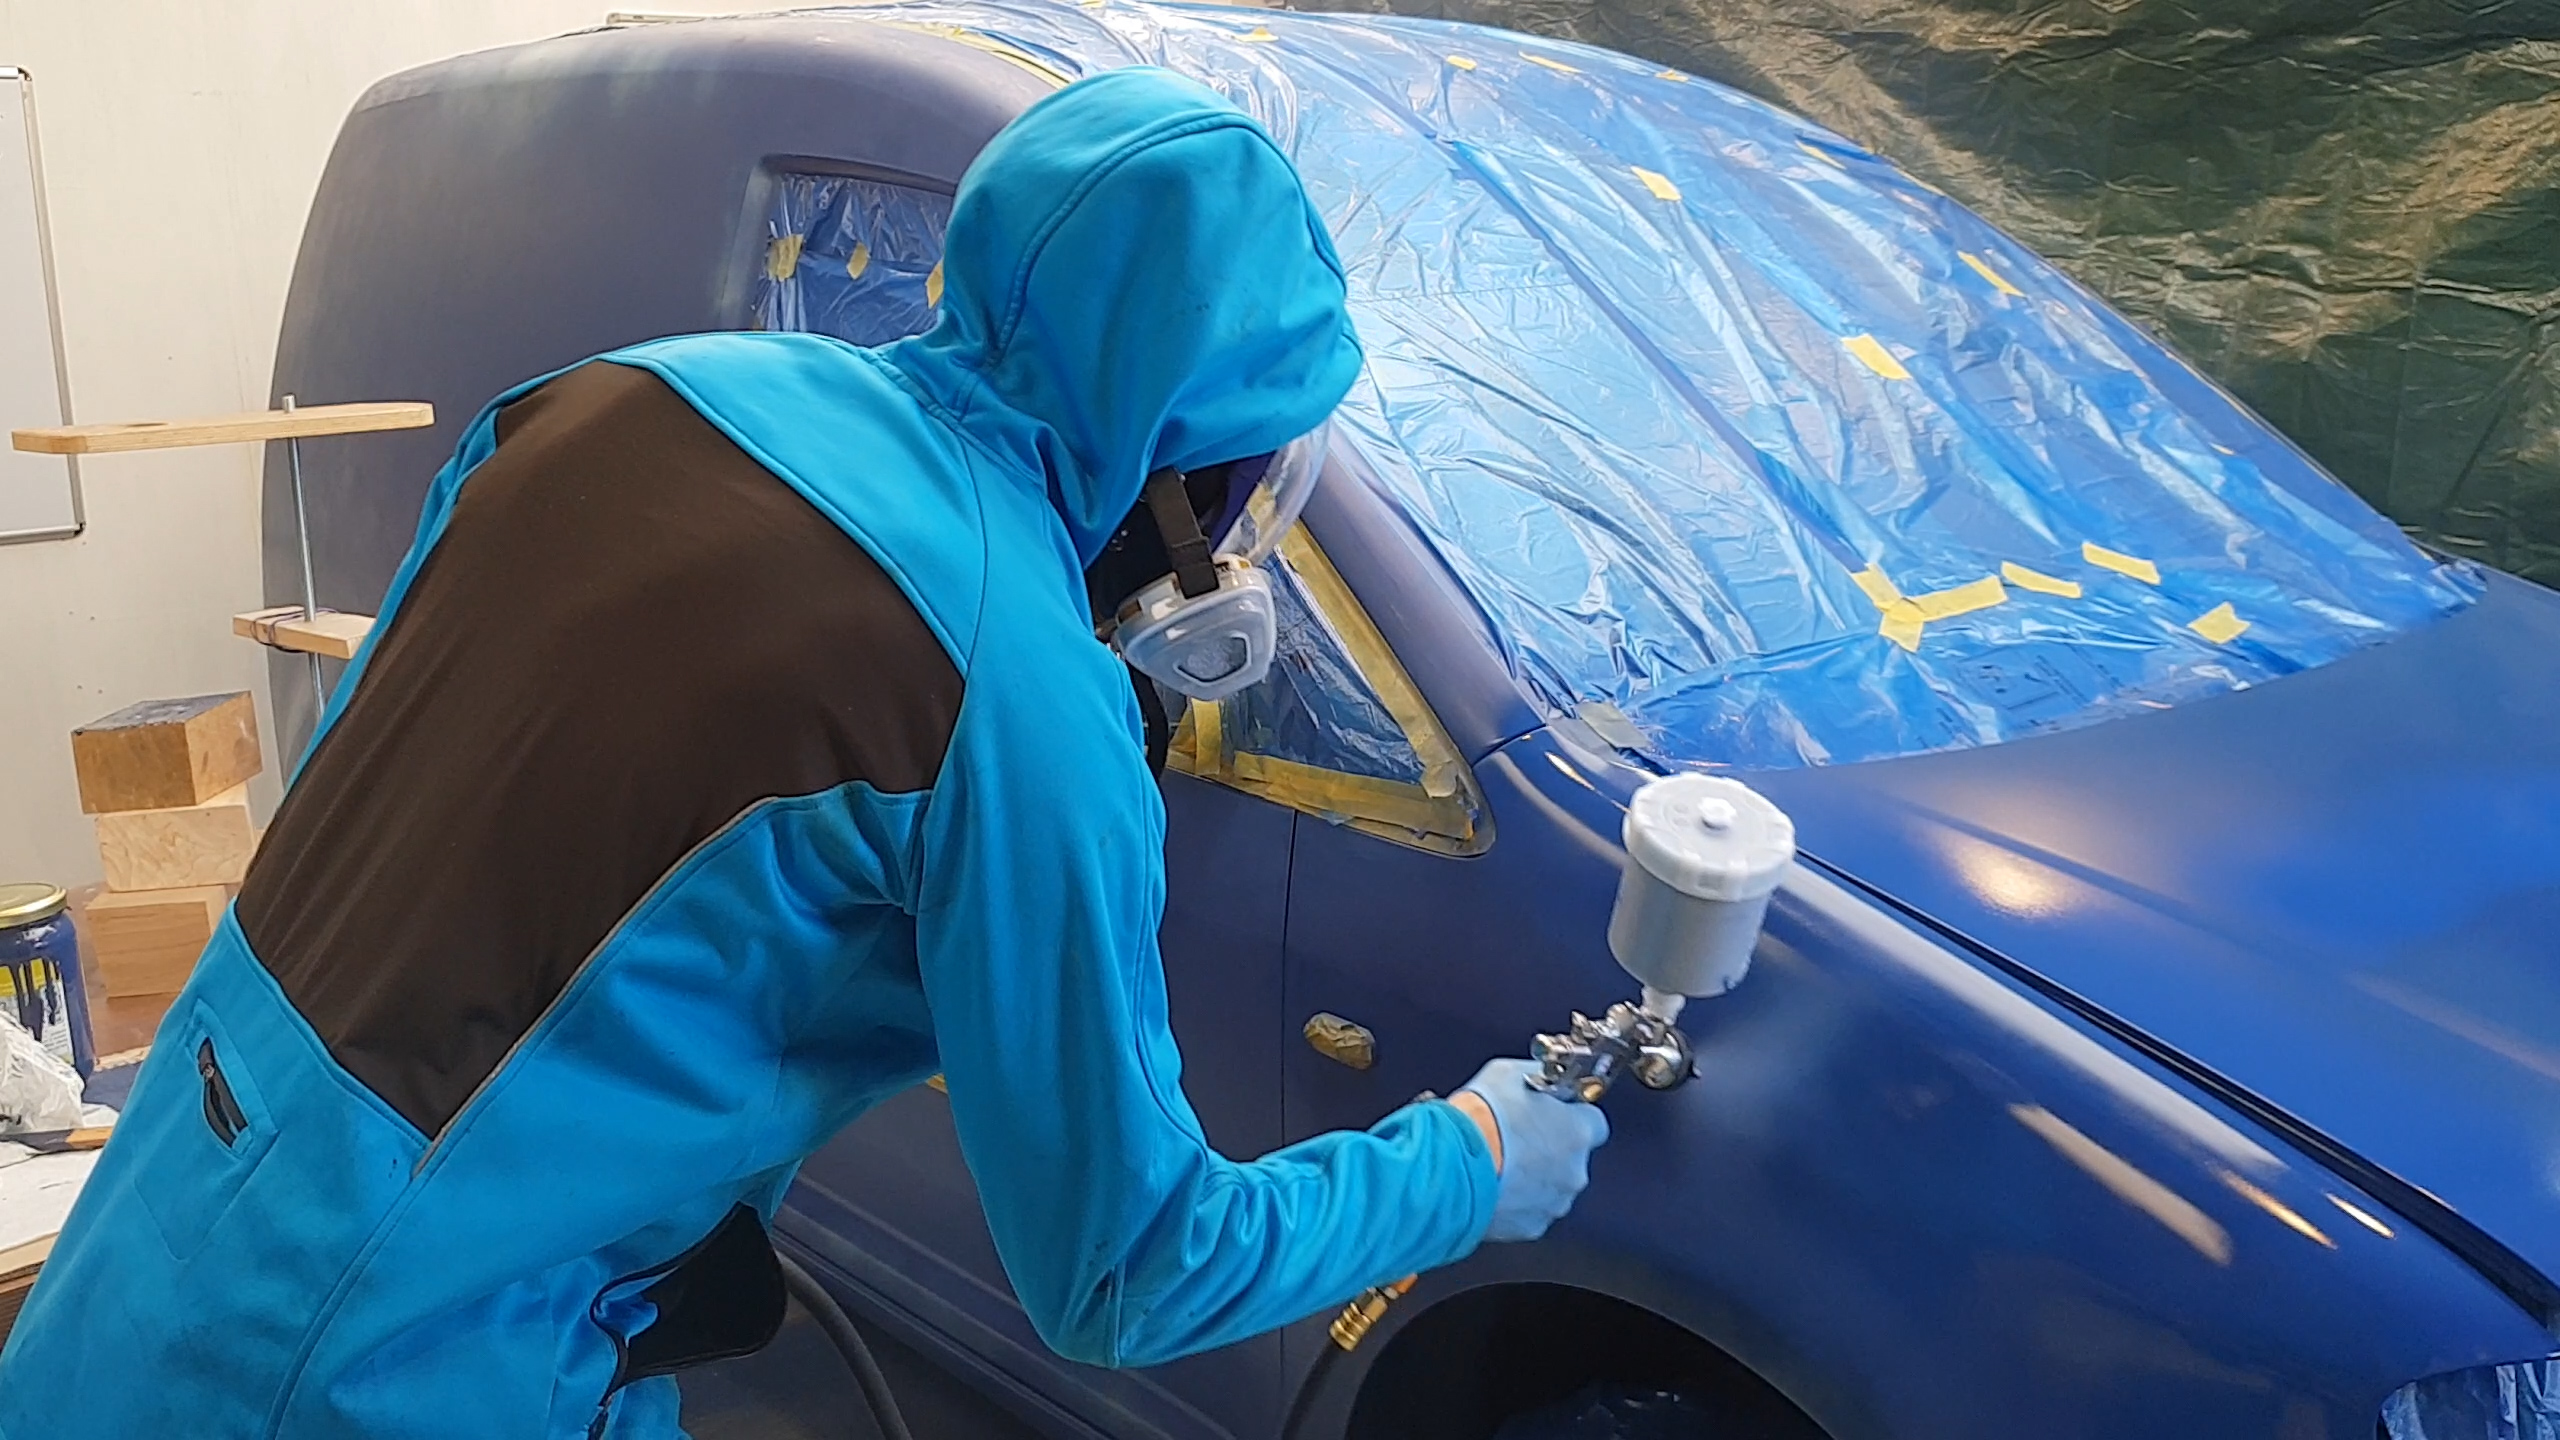
Most pro-grade spray guns for painting require something like 7 to 8 cubic feet per minute (CFM) of clean and dry compressed air at about 35 psi of pressure. That usually requires a very large expensive compressor. In this instalment we make a super cheap compressor system capable of delivering! In the process I add a pipe run to the workshop that can distribute the air. That way once we are done painting our rusting van, this project will carry on being useful by allowing use of other air tools (primarily the air dusting gun, sand blaster, and potential an air nailer – the latter two also being quite air hungry). Click the pic below to check out the video, or continue reading for a some related snippets of info.
There are three main steps to making this system work: lets start with conditioning the air, that is, de-oiling and drying it. To get good results, spray painting requires very clean, oil and water free air.
1. The upcycled Gas Bottle Swirl Tube
The gas bottle swirl tube I make in the video is simply an old orphaned CO2 cylinder. It’s a very strong 6mm thick steel beast, which is comforting considering we are essentially making it a potential BOMB by pushing compressed air into it. It functions as another air storage tank as well as an after-cooler and filter.
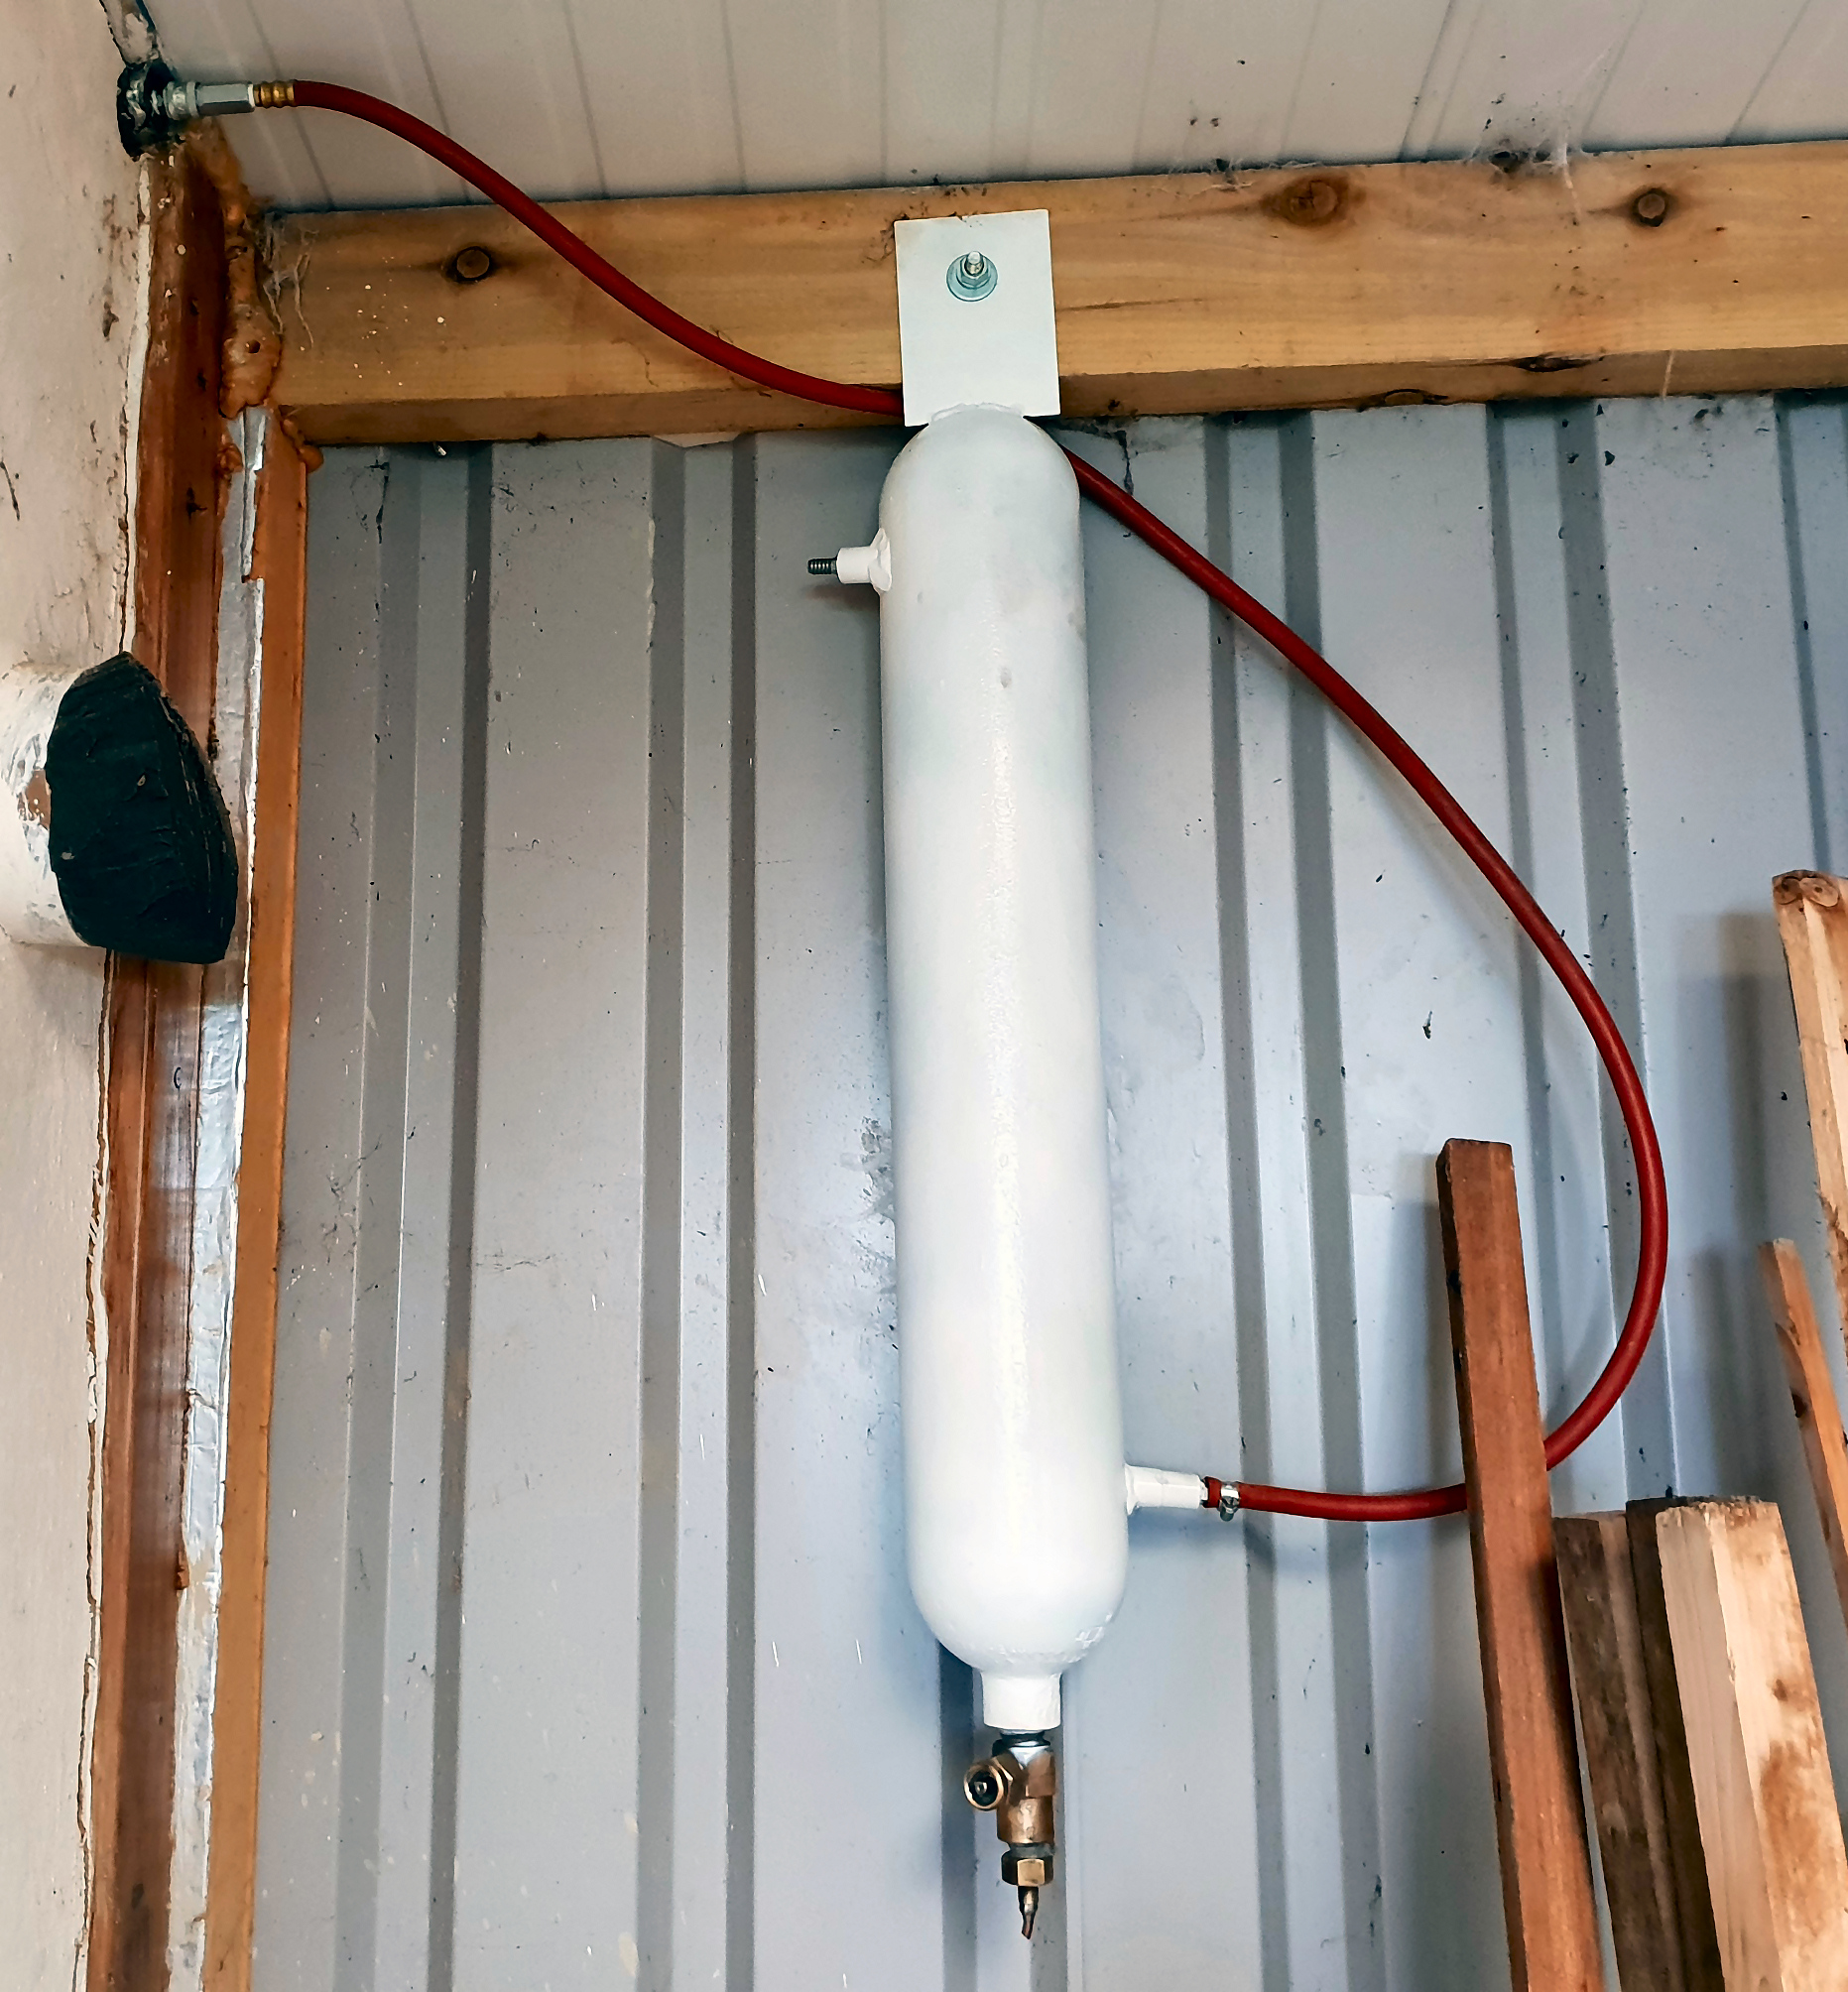
The theory here is that we are using the cylinder to centrifugally clean the air (the same principal as we used for the Dust Sniper) and cool it. The cylinder is in the cold outside the shop proper (but still under cover), and mounted on a cold tin sheet wall. As the air stream enters it is spun around the circumference, where it contacts the cool steel. Air straight from the compressor is likely to have moisture present in it, and this gets condensed out as it cools. This moisture collects at the bottom of the swirl tube and is periodically purged using the original valve.
2. Compressed Air Pipes
Having the swirl tube straight after the compressor means we keep most of the contaminants and moisture out of the pipe run. As per usual we are making this system of pipes with reclaimed bits and bobs, which has it’s trials and tribulations – as you will see in the vid. One mega benefit of this is that we already had a bunch of metal tubes that our friend Dave gave us, so it was free (minus a lot of time spent cleaning up). Some were even stainless steel!
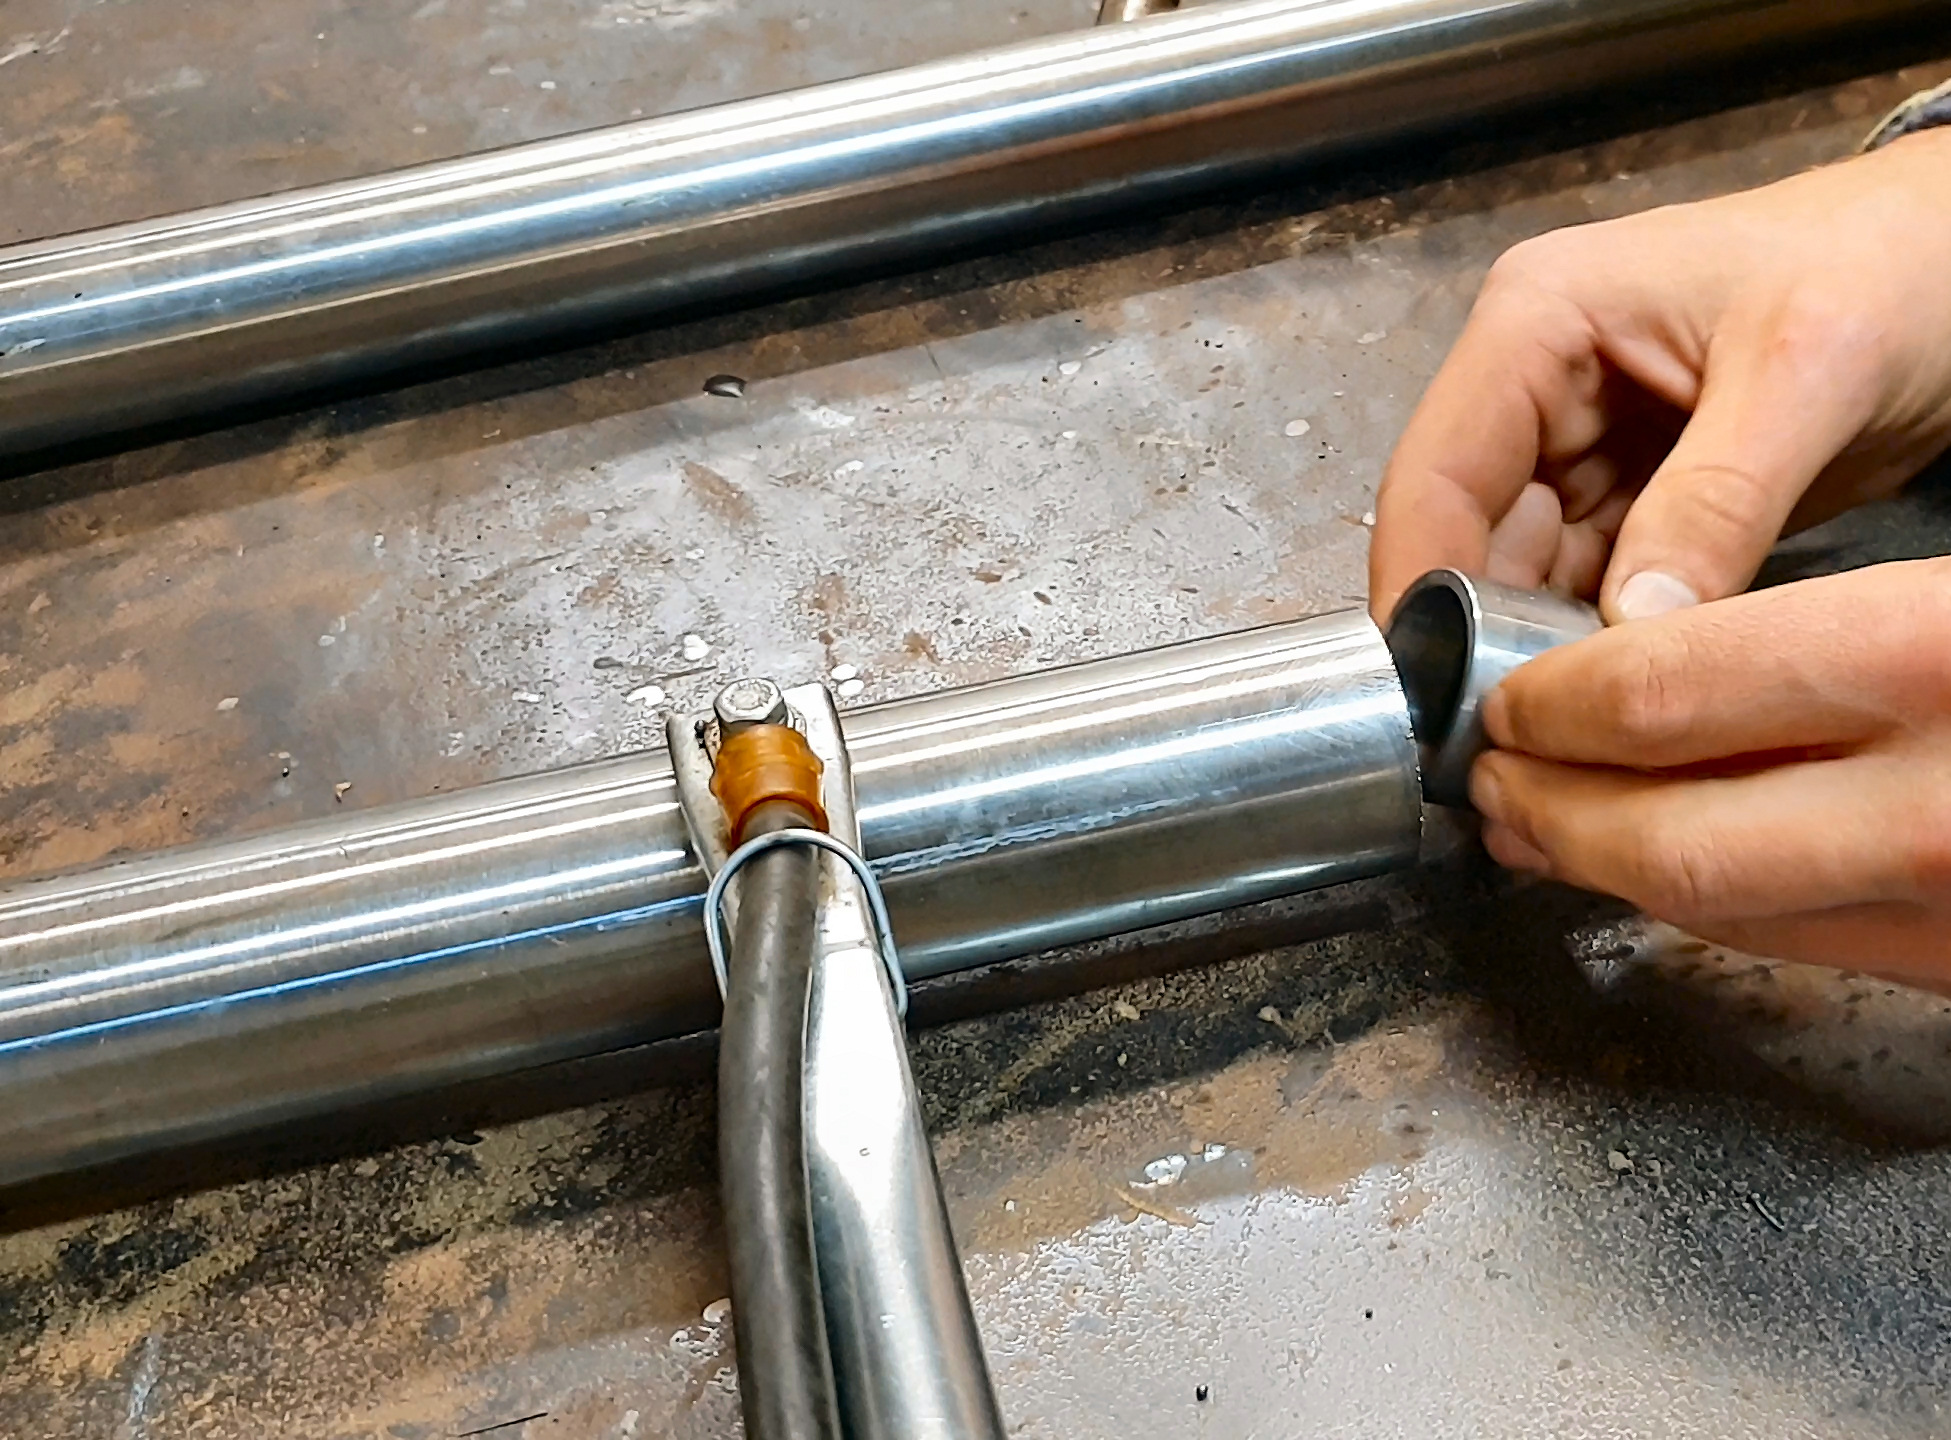
Essentially these were cut and welded together, to form the pipe run. They are large diameter (approximately 2″) and so have the compound benefit that they store a lot of air (like adding another auxiliary tank) and, impose effectively zero resistance to the flow of air! Long runs of smaller pipping can mean really significant drops to the CFM you see at the air tools, so this is a big bonus.
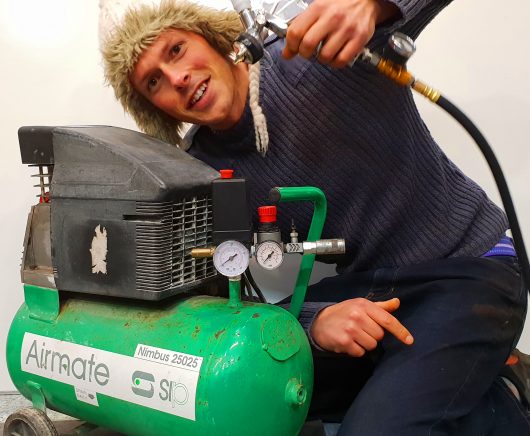
3. Joining Two Cheap Air Compressors Together to Boost the Airflow
This was the last step in getting the system up to spray paint standard. Before doing this, just with the previous two steps, I had a system that was capable of spray painting whole body panels without having to stop part way through. It wasn’t up to doing a whole van though!
After connecting the modest little compressors, one a 1.5HP and one a 2HP 25 litre thing, I was able to spray the complete 500ml cup full of paint from the gun at 36psi, with zero drop in pressure. Result!
You can now see the video of the whole van re-spray, including prep work, and converting the workshop to a make-shift ‘spray booth’ in this video: 26 Tips to Spray Paint your Car in a DIY booth
| Tweet |